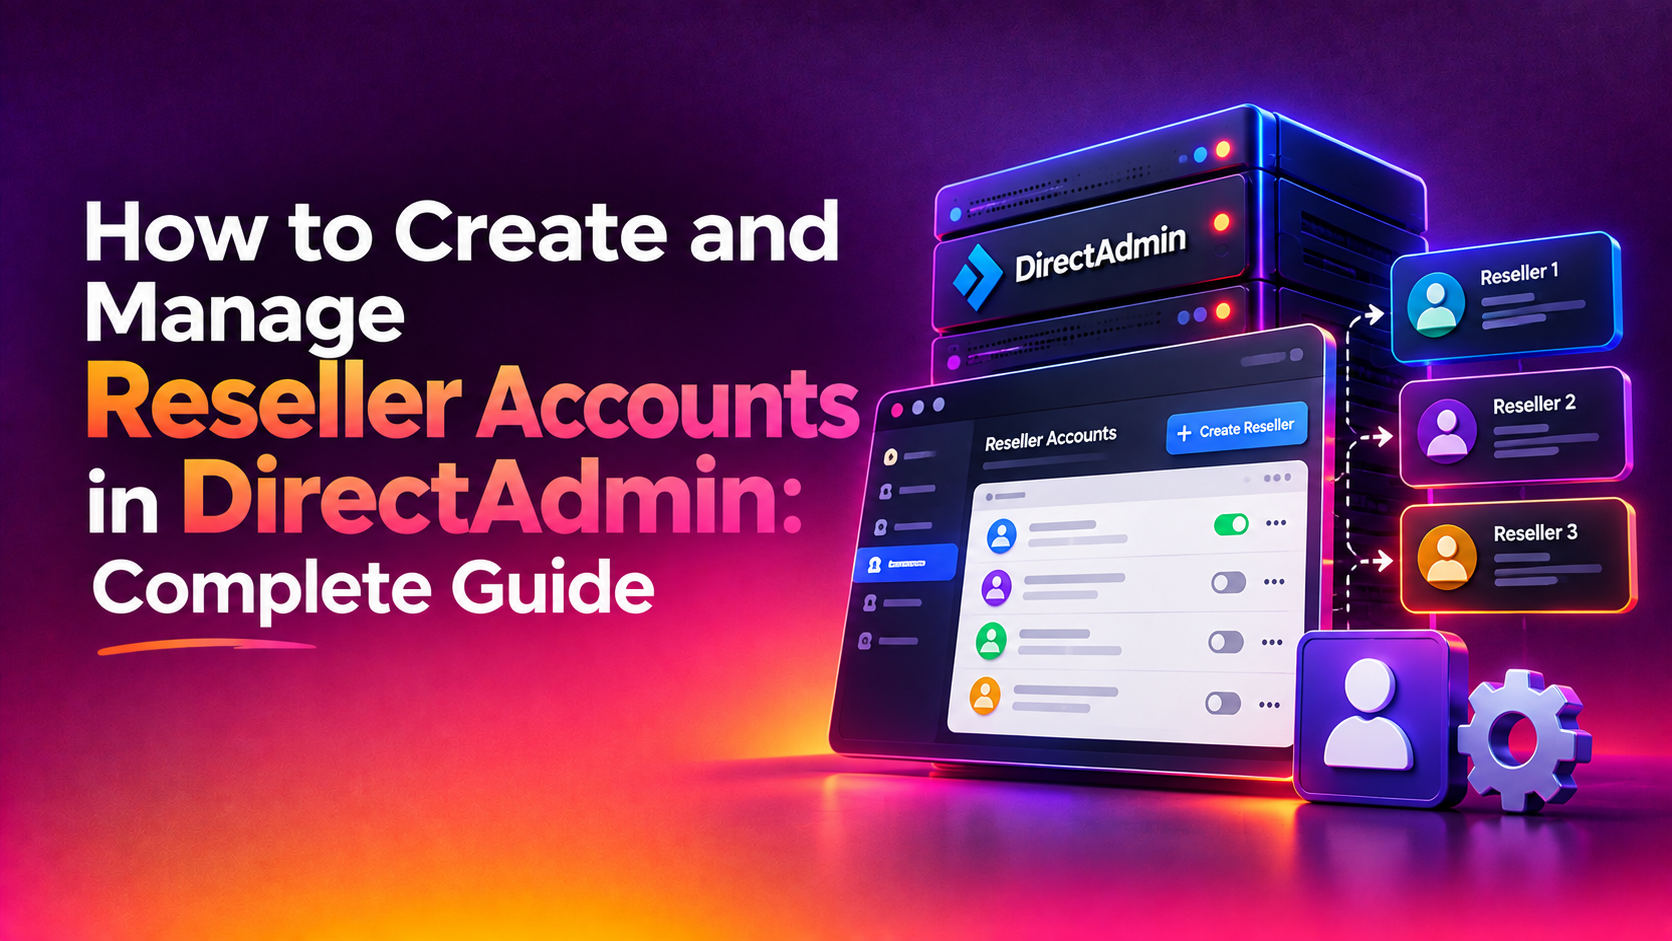
Managing a DirectAdmin server for multiple clients means one thing: reseller accounts. Whether you're running a web hosting business or managing infrastructure for an agency, knowing how to create, configure, and manage reseller accounts in DirectAdmin is a core skill every server admin needs.
This guide walks you through every step — from creating reseller packages and assigning resource limits, to managing end-user accounts, monitoring usage, and troubleshooting common reseller issues — with real configuration examples throughout.
Understanding DirectAdmin's Account Hierarchy
Before creating reseller accounts, you need to understand how DirectAdmin structures its access levels:
- Admin — Full server control. Creates and manages resellers. Sets global resource limits.
- Reseller — Creates and manages end users. Allocates resources from their own pool.
- User — Manages domains, email, databases, and files within their allotted resources.
The key point: a reseller's total resources come from the admin's allocation. If you give a reseller 50 GB disk space, they can distribute that 50 GB across all their users — but cannot exceed it themselves.
💡 None of these worked? Skip the guesswork.
Get Expert Help →Step 1: Create a Reseller Package
Before creating a reseller account, define a reseller package — a template that defines the resource caps for that reseller. This keeps your provisioning consistent and repeatable.
Access your DirectAdmin admin panel at https://your-server-ip:2222 and log in with admin credentials.
Go to Account Manager → Manager Reseller Packages → Add Package.
Fill in the following fields based on your hosting plan tier:
- Bandwidth: Total monthly data transfer in MB across all the reseller's users (e.g.,
102400for 100 GB) - Disk Space: Total storage in MB shared by the reseller and all their users (e.g.,
51200for 50 GB) - Inodes: Maximum number of files and folders (e.g.,
500000). Prevents runaway accounts from flooding the filesystem. - Domains: How many domains this reseller can host across all their users
- Sub-domains: Total subdomains allowed
- Email Accounts: Combined email inbox count across all users
- Forwarders: Total email forwarders
- MySQL Databases: Total databases this reseller's users can create
- FTP Accounts: Total FTP users
You can also set feature flags like whether resellers can offer SSH access, SSL, CGI, or custom DNS.
Click Save. The package is now available to assign when creating reseller accounts.
In the Admin panel, navigate to Account Manager → Create Reseller.
- Username: Lowercase alphanumeric, e.g.,
agencyxyz(max 8 characters) - Email: The reseller's billing or admin email
- Password: Use a strong generated password (minimum 12 characters)
- Domain: A primary domain for this reseller account. It doesn't have to resolve, but must be unique on the server. Example:
agency-panel.com - Package: Select the reseller package you created above
Choose between:
- Shared IP: The reseller's users share the server's main IP — fine for standard hosting
- Dedicated IP: Assign a specific IP to this reseller — required for resellers who need their own IP block or branded SSL
DirectAdmin will create the account. The reseller can now log in at https://your-server:2222 with their credentials.
echo "action=backup&who=USER_NAME&type=user" | /usr/local/directadmin/directadmin --stdinGo to Account Manager → List All Users, find the user, click their username, then use Change Reseller to move them to a different reseller. Their data stays intact — only the owner assignment changes.
Common Reseller Account Issues and Fixes
Reseller can't create new users — "limit exceeded"
This means the reseller has hit their package cap. Check their current usage vs. limit in their reseller.conf, then increase the relevant limit via Modify Reseller.
Reseller's users can't send email
Bandwidth overage or suspended account. Check:
grep "bandwidth_limit\|bandwidth_used" /usr/local/directadmin/data/users/RESELLER_NAME/reseller.confIf bandwidth is the issue, either increase the limit or wait for the monthly reset.
Reseller password reset not working
As admin, you can force a password reset via CLI:
passwd RESELLER_USERNAMEThen notify the reseller to log in and change it immediately.
IP conflict after assigning dedicated IP
Verify the IP is actually available on the server:
ip addr show | grep inet
cat /usr/local/directadmin/data/admin/ip_list
The IP must appear in the admin's IP pool before it can be assigned to a reseller.
Best Practices for Reseller Account Management
- Always create packages before accounts — ad-hoc limits lead to inconsistent configurations
- Set inodes limits — unlimited inodes is a common cause of filesystem performance issues
- Leave headroom — don't allocate 100% of server resources to resellers; keep 10-15% for OS and DirectAdmin itself
- Use different IPs for resellers who run email — shared IP blacklistings affect all users; dedicated IPs isolate the damage
- Enable email notifications for bandwidth/disk warnings — set these in Admin panel → Admin Notifications so you're alerted before accounts get suspended automatically
If managing multiple resellers across high-traffic servers is taking more time than you'd like, CloudHouse Technologies offers fully managed DirectAdmin server management — including reseller provisioning, resource monitoring, and 24/7 incident response.
FAQs
Conclusion
Setting up reseller accounts in DirectAdmin is straightforward once you understand the package-first workflow: create the reseller package with resource limits, create the account, configure user packages for the reseller, then monitor usage as clients grow. The key to running a stable multi-tenant server is leaving resource headroom, enforcing inode limits, and catching bandwidth issues before they trigger automatic suspensions.
With the steps in this guide, you can provision new resellers in minutes and manage dozens of them confidently from a single DirectAdmin admin panel.