
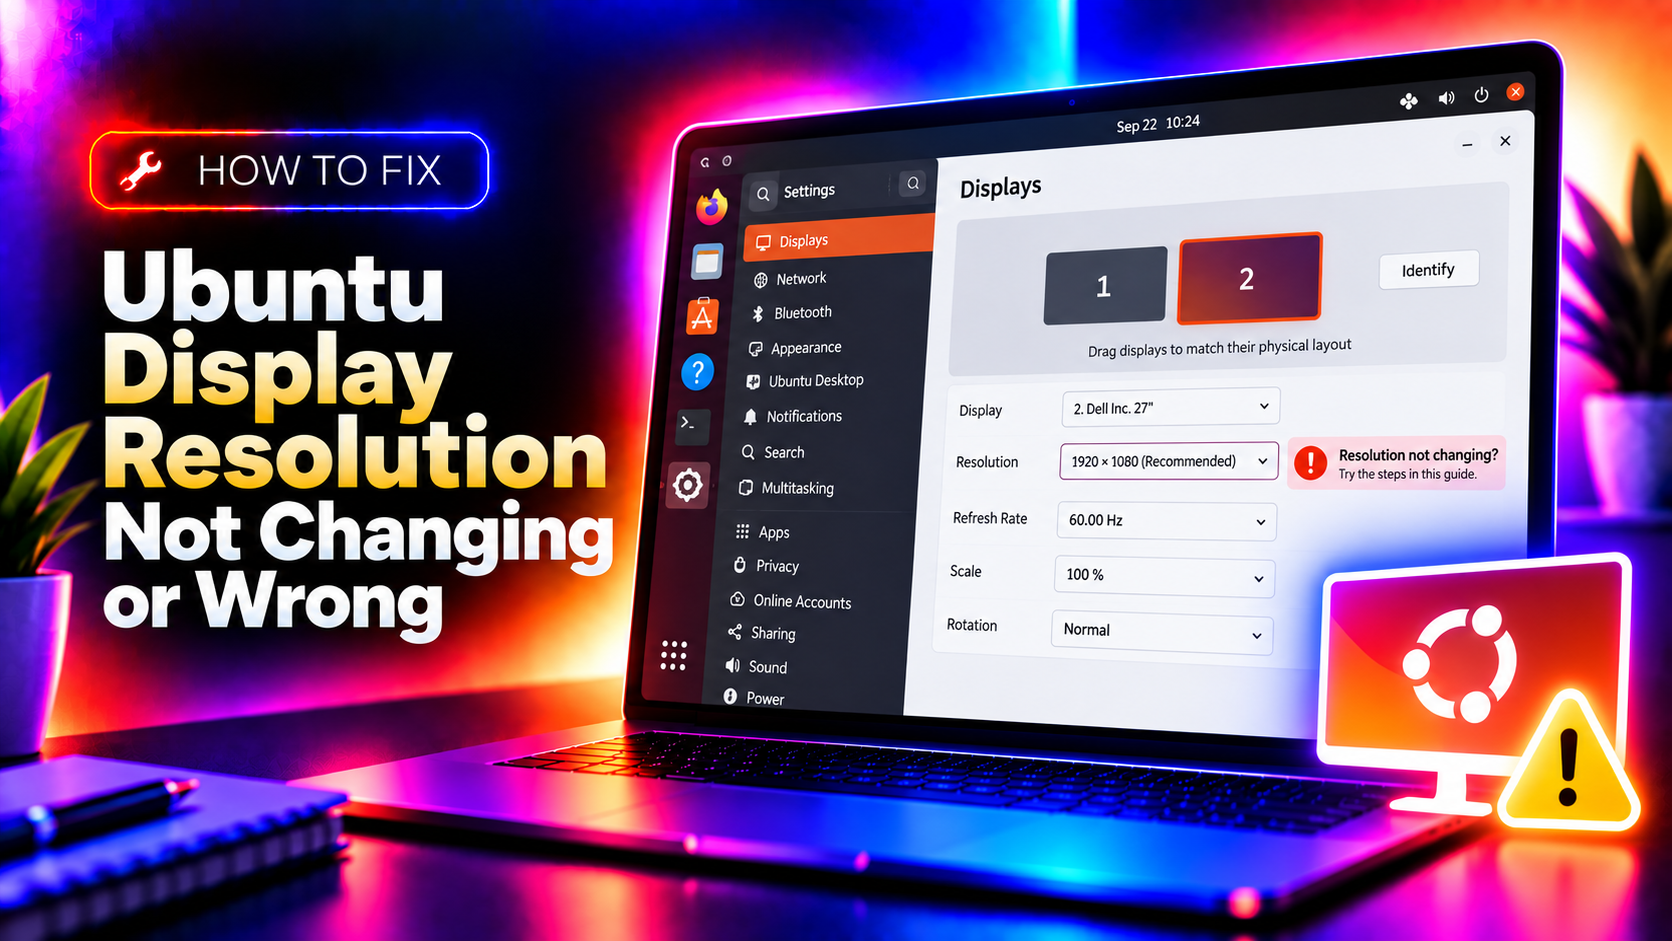
Why Ubuntu Won't Change Display Resolution
One of the most frustrating Ubuntu desktop issues is being stuck at the wrong screen resolution — a blurry 1024×768 on a 4K monitor, missing refresh rate options, or display settings that refuse to save. The underlying causes vary depending on your display server and GPU:
- Missing or incorrect GPU drivers (especially NVIDIA)
- Wayland vs X11 conflict (xrandr only works on X11)
- No modeline defined for your monitor's native resolution
- EDID (monitor detection) not reading the display capabilities correctly
- Display settings not persisting across reboots
This guide covers fixes for all common scenarios on Ubuntu 22.04, 24.04, and newer.
Fix 1: Check Whether You're on X11 or Wayland
Many resolution fixes use xrandr, which only works under X11 — not Wayland. First, find out which you're running:
echo $XDG_SESSION_TYPEIf it outputs wayland, switch to X11:
- Log out of your session.
- On the login screen, click your username.
- Click the gear icon in the bottom-right corner.
- Select Ubuntu on Xorg.
- Log back in.
On Wayland, use Settings → Displays instead of xrandr to adjust resolution.
Fix 2: Check Available Resolutions with xrandr
Open a terminal and run:
xrandrThis lists all connected displays and their supported resolutions. The current mode is marked with an asterisk (*). If your native resolution (e.g., 1920×1080) appears in the list, you can set it directly:
xrandr --output HDMI-1 --mode 1920x1080Replace HDMI-1 with your actual output name from the xrandr output (common names: eDP-1, DP-1, HDMI-1, VGA-1).
Fix 3: Add a Custom Resolution (If It's Missing)
If your desired resolution doesn't appear in xrandr output, you need to create a custom modeline:
Step 1 — Generate the modeline using cvt:
cvt 1920 1080 60This outputs something like:
Modeline "1920x1080_60.00" 173.00 1920 2048 2248 2576 1080 1083 1088 1120 -hsync +vsyncStep 2 — Add the new mode:
xrandr --newmode "1920x1080_60.00" 173.00 1920 2048 2248 2576 1080 1083 1088 1120 -hsync +vsyncStep 3 — Add it to your display output:
xrandr --addmode HDMI-1 "1920x1080_60.00"Step 4 — Apply it:
xrandr --output HDMI-1 --mode "1920x1080_60.00"Fix 4: Make Resolution Changes Persistent
xrandr changes only last until you reboot. To make them permanent, add commands to your session startup file:
nano ~/.xprofileAdd your xrandr commands at the bottom:
xrandr --output HDMI-1 --mode 1920x1080 --rate 60Save and close the file. These commands will run automatically every time you start your X session.
Alternatively, create an autostart entry in ~/.config/autostart/ or use GNOME Startup Applications.
Fix 5: Install Correct GPU Drivers
Wrong or missing GPU drivers are the most common cause of resolution being capped at low values. Ubuntu includes a driver manager to help:
- Open Software & Updates → Additional Drivers.
- If you have an NVIDIA GPU, select the latest recommended proprietary driver (e.g., nvidia-driver-550).
- Click Apply Changes and reboot.
For NVIDIA, you can also install via terminal:
sudo ubuntu-drivers autoinstall
sudo reboot
For AMD and Intel GPUs, the open-source drivers included with Ubuntu are usually correct — update the kernel and mesa packages instead:
sudo apt update && sudo apt upgrade mesa-utils
Fix 6: Force EDID Override for Undetected Resolutions
If your monitor's native resolution isn't detected even after driver installation, the EDID (Extended Display Identification Data) may be missing or incorrect. You can create an override:
First, read the current EDID:
sudo cat /sys/class/drm/card0-HDMI-A-1/edid | edid-decodeIf that fails, you can generate a custom EDID using edid-generator or AW EDID Editor and place it in /etc/X11/edid.bin. Then add to /etc/X11/xorg.conf.d/10-monitor.conf:
Section "Monitor"
    Identifier "HDMI-1"
    Option "CustomEDID" "HDMI-1:/etc/X11/edid.bin"
EndSection
Restart the display manager for this to take effect.
Fix 7: Configure Resolution via xorg.conf
If GUI and xrandr methods both fail, create a manual X11 configuration:
sudo nano /etc/X11/xorg.conf.d/10-resolution.confAdd:
Section "Screen"
    Identifier "Screen0"
    SubSection "Display"
        Modes "1920x1080" "1280x720"
    EndSubSection
EndSection
Save and restart your display manager:
sudo systemctl restart gdm3Fix 8: Fix Resolution on Wayland (GNOME Settings)
On Wayland sessions, xrandr cannot control physical outputs. Use the built-in display settings instead:
- Open Settings → Displays.
- Select the monitor you want to adjust.
- Choose your preferred Resolution and Refresh Rate from the dropdowns.
- Click Apply and confirm within 20 seconds.
If your native resolution still doesn't appear, the GPU driver isn't reporting capabilities correctly — install or update the driver first.
Fix 9: Check Display Output with arandr
arandr is a graphical frontend for xrandr that makes multi-monitor configuration easier:
sudo apt install arandr
arandr
Use the interface to drag and arrange monitors, set resolutions visually, and save the configuration as a shell script you can run at startup.
Prevent Ubuntu Display Resolution Resets
- Always install the recommended GPU driver from Software & Updates → Additional Drivers
- Keep your kernel and mesa packages updated:
sudo apt upgrade - Save xrandr settings to
~/.xprofilefor persistence - Use LTS Ubuntu releases for better driver stability
Need expert Ubuntu desktop configuration help? CloudHouse Technologies provides Linux desktop support on a pay-per-ticket basis — no subscription required.
Frequently Asked Questions
Why can't I see my monitor's native resolution in Ubuntu display settings?
This usually means Ubuntu hasn't detected your monitor's EDID correctly, or the GPU driver doesn't support the resolution. Install the correct driver for your GPU, then check if the resolution appears. If not, add it manually with xrandr newmode commands.
Does xrandr work on Ubuntu Wayland?
xrandr only works for X11 sessions. On Wayland, it only sees the XWayland virtual display — not your actual physical monitor outputs. Use Settings → Displays on Wayland, or switch to the Xorg session at login.
How do I make Ubuntu remember my resolution after reboot?
Add your xrandr commands to the ~/.xprofile file. This file is sourced automatically at every X session start, making your display configuration persistent across reboots.
My second monitor has wrong resolution on Ubuntu — how do I fix it?
Run xrandr to identify the output name of your second monitor, then use xrandr --output [output-name] --mode [resolution] to set the correct resolution. If the mode isn't listed, use cvt and xrandr --newmode to create it manually.
How do I reset Ubuntu display settings if I can't see the screen?
Boot into recovery mode, open a root shell, and run xrandr --output [output] --auto to reset to automatic resolution detection. Or delete ~/.config/monitors.xml (GNOME) which stores your display configuration, then reboot.