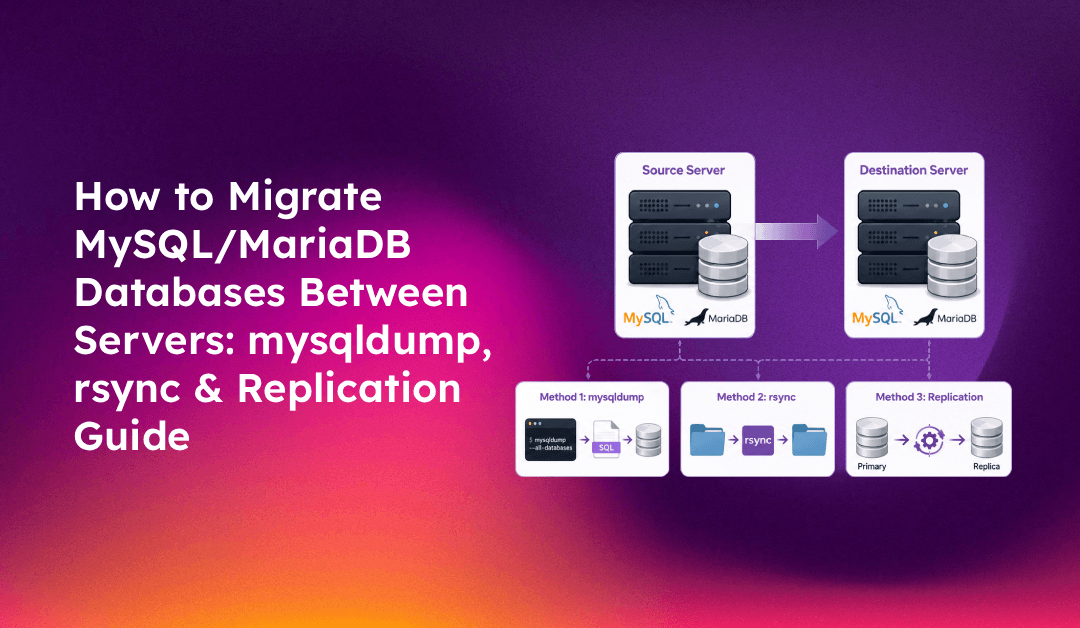
Migrating MySQL or MariaDB databases between servers is one of the most common — and highest-risk — tasks in a server move. Get it wrong and you face data loss, downtime, or corrupted tables. This guide covers three production-tested methods: mysqldump for full exports, rsync for fast binary transfers, and MySQL replication for near-zero downtime cutover.
Pre-Migration Checklist
Before moving any database, complete this checklist to avoid surprises mid-migration:
- MySQL/MariaDB version compatibility: Confirm the destination server runs the same or a newer version. Downgrading MySQL version is not supported.
- Character set and collation: Run
SHOW CREATE DATABASE dbname;on the source — note the character set and collation for re-creation on the destination. - Storage engine: Confirm InnoDB is available on the destination. MyISAM tables require special handling for binary transfers.
- Available disk space: Ensure the destination has at least 2× the source database size (dump file + imported data).
- User privileges: Export your MySQL users and grants with
pt-show-grantsor a manual query (covered below). - Firewall rules: If migrating via direct replication, open port 3306 between source and destination temporarily.
💡 None of these worked? Skip the guesswork.
Get Expert Help →Method 1: mysqldump — Full Database Export and Import
mysqldump is the standard tool for database migration when downtime is acceptable or databases are small enough to export quickly.
mysqldump -u root -p --all-databases --single-transaction --routines --triggers --events --master-data=2 --flush-logs > /root/full-backup-$(date +%F).sqlFlag breakdown:
--single-transaction: Consistent snapshot for InnoDB without locking tables--routines: Includes stored procedures and functions--triggers: Includes triggers (default: on, but explicit is safer)--events: Includes scheduled events--master-data=2: Records the binary log position (needed if setting up replication later)
To export a single database:
mysqldump -u root -p --single-transaction --routines --triggers mydb > mydb.sqlrsync -avz --progress /root/full-backup-*.sql root@destination-ip:/root/Or with SCP:
scp /root/full-backup-*.sql root@destination-ip:/root/mysql -u root -p < /root/full-backup-*.sqlFor large dumps, use screen or tmux to prevent disconnection from killing the import:
screen -S db-import
mysql -u root -p < /root/full-backup-*.sql
# Ctrl+A, D to detach — reconnect with: screen -r db-import# In a second session, check current database size growth
watch -n5 'mysql -u root -p -e "SELECT table_schema AS db, ROUND(SUM(data_length+index_length)/1024/1024,1) AS MB FROM information_schema.tables GROUP BY table_schema ORDER BY MB DESC LIMIT 10;"'mysql -u root -p -e "SELECT @@datadir;"
# Typically: /var/lib/mysql/rsync -avz --progress /var/lib/mysql/ root@destination-ip:/var/lib/mysql/This pre-syncs the bulk of data. Run multiple times to reduce the delta.
# Source server: stop MySQL
systemctl stop mysql

# Final delta sync
rsync -avz --delete /var/lib/mysql/ root@destination-ip:/var/lib/mysql/

# Destination server: fix ownership and start
chown -R mysql:mysql /var/lib/mysql/
systemctl start mysqlmysql -u root -p -e "SHOW DATABASES;"Warning: Binary data directory transfers only work reliably between identical MySQL/MariaDB versions and the same OS architecture (64-bit to 64-bit). Using this method across different versions risks InnoDB tablespace corruption.
Add to /etc/mysql/mysql.conf.d/mysqld.cnf (or /etc/my.cnf):
[mysqld]
server-id = 1
log_bin = /var/log/mysql/mysql-bin.log
binlog_do_db = mydb   # omit to replicate all databases
systemctl restart mysqlmysql -u root -p
CREATE USER 'replicator'@'destination-ip' IDENTIFIED BY 'StrongPass123!';
GRANT REPLICATION SLAVE ON *.* TO 'replicator'@'destination-ip';
FLUSH PRIVILEGES;mysqldump -u root -p --all-databases --single-transaction --master-data=2 > /root/snapshot.sql
# The --master-data=2 flag writes the log position as a comment at the top of the dumphead -30 /root/snapshot.sql | grep "MASTER_LOG"
# Example: -- CHANGE MASTER TO MASTER_LOG_FILE='mysql-bin.000003', MASTER_LOG_POS=1234;mysql -u root -p < /root/snapshot.sqlmysql -u root -p
CHANGE MASTER TO
MASTER_HOST='source-server-ip',
MASTER_USER='replicator',
MASTER_PASSWORD='StrongPass123!',
MASTER_LOG_FILE='mysql-bin.000003',
MASTER_LOG_POS=1234;
START SLAVE;SHOW SLAVE STATUS\G
# Watch "Seconds_Behind_Master" — when it reaches 0, replication has caught upOnce Seconds_Behind_Master = 0:
- Put the application in maintenance mode or set the DB to read-only on source:
FLUSH TABLES WITH READ LOCK; - Update the application's database host to the destination IP
- Run
STOP SLAVE;on the destination - Remove the read lock on the source:
UNLOCK TABLES; - Verify the application connects successfully
Migrating MySQL Users and Permissions
Database user grants are not always included in a standard mysqldump. Export them explicitly:
mysql -u root -p -e "SELECT CONCAT('SHOW GRANTS FOR ''', user, '''@''', host, ''';') FROM mysql.user WHERE user != '';" | mysql -u root -p | grep -v "Grants for" | sed 's/$/;/' > /root/mysql-users.sqlOr use Percona Toolkit's pt-show-grants for a cleaner output:
pt-show-grants --user=root --password=your-password > /root/grants.sqlImport on the destination:
mysql -u root -p < /root/mysql-users.sql
FLUSH PRIVILEGES;
Post-Migration Validation
After completing the migration, validate data integrity before decommissioning the source:
# Count rows in critical tables on both servers
mysql -u root -p -e "SELECT COUNT(*) FROM mydb.orders;"

# Compare table checksums (run on both servers — hashes should match)
mysqlcheck -u root -p --all-databases --check-only-changed

# Check for InnoDB errors
mysql -u root -p -e "SHOW ENGINE INNODB STATUS\G" | grep -A5 "LATEST FOREIGN KEY ERROR\|LATEST DETECTED DEADLOCK"
Run your application's test suite against the destination database before cutting over production traffic.
If you need expert assistance migrating a large or complex MySQL database with zero downtime, CloudHouse Technologies' server migration service handles database migration, replication setup, and post-cutover validation as part of a complete server move.