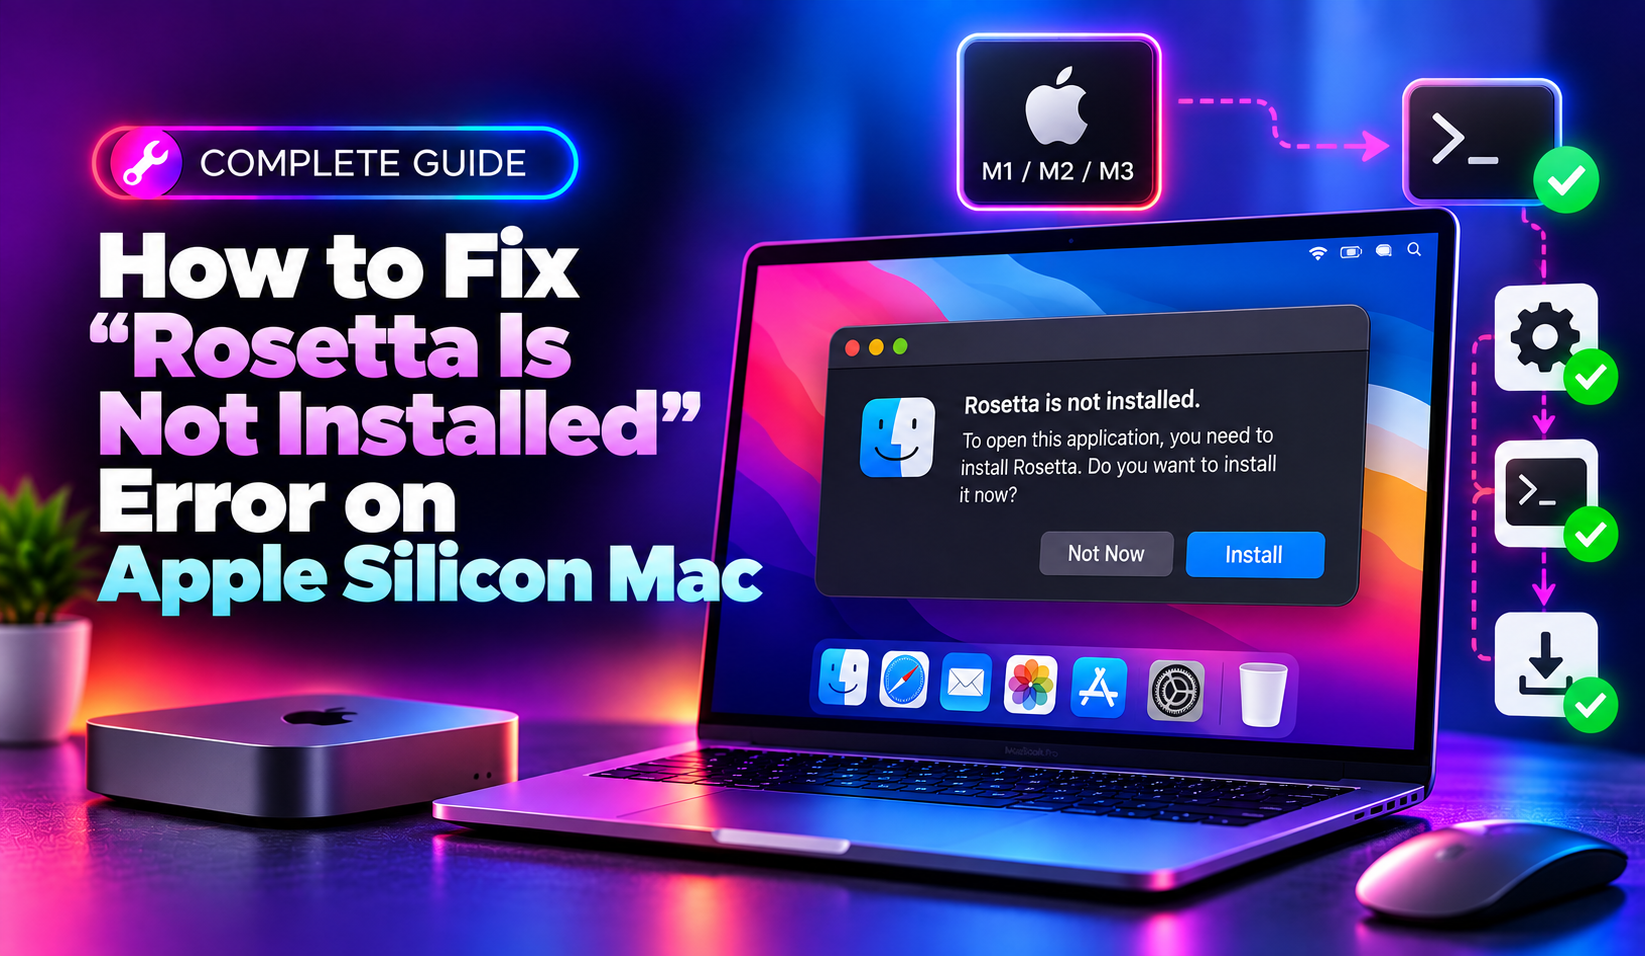
If you just double-clicked an older Intel-only app on your Apple Silicon Mac (M1, M2, M3, or M4) and got hit with "Rosetta is not installed" or the more cryptic "Installing Rosetta 2 on this system is not supported", you're not alone. In 2026, most software has moved to native Apple Silicon builds, but a surprising number of legacy installers, older Adobe tools, some Docker images, Homebrew Intel formulas, and niche business apps still ship as x86_64 binaries — and every one of them depends on Rosetta 2 to translate Intel instructions for Apple's ARM-based chips.
This guide walks through exactly why this error happens, how to install Rosetta 2 correctly via Terminal, how to fix the "not supported" variant of the error, and how to stop it from happening again.
What Causes the "Rosetta Is Not Installed" Error
Rosetta 2 is Apple's on-the-fly binary translator that lets Intel (x86_64) apps run on Apple Silicon Macs. It doesn't ship pre-installed on a fresh Mac — macOS installs it the first time you try to open an Intel-only app, prompting a small one-time download. The error appears when:
- Rosetta was never installed and the automatic install prompt was dismissed or failed silently
- A previous macOS update (especially a major version upgrade like macOS Tahoe) removed or corrupted the Rosetta installation
- Your Mac has no active internet connection during the first launch attempt, so the install silently fails
- The app or Terminal profile has "Open using Rosetta" checked, but the underlying Rosetta framework itself is missing or broken
- Corporate MDM/network restrictions are blocking the Apple software update servers
💡 None of these worked? Skip the guesswork.
Get Expert Help →Method 1: Install Rosetta 2 Manually via Terminal
The fastest and most reliable fix is to install Rosetta directly from the command line instead of waiting for an app to trigger the prompt.
Go to Applications > Utilities > Terminal, or press Cmd + Space and type "Terminal".
Type the following and press Enter:
softwareupdate --install-rosettaYou'll be asked to agree to Apple's license terms — type A and press Enter to accept.
If you're deploying this across multiple machines or want to bypass the interactive prompt entirely, use:
softwareupdate --install-rosetta --agree-to-licenseConfirm Rosetta is now present by checking for its runtime daemon:
pgrep oahdIf it returns a process ID number, Rosetta is installed and running correctly. You can also check via Apple menu > About This Mac > More Info > System Report > Software > Installations, and look for "RosettaUpdateAuto" in the list.
2. Right-click and choose "Get Info."
4. Close the Get Info window, then re-run softwareupdate --install-rosetta from a normal (non-Rosetta) Terminal session.
Method 3: Fix a Failed or Stuck Install (No Internet / Corporate Network)
If the install command hangs, times out, or fails outright, the most common culprit is network access to Apple's software distribution servers.
- Switch networks — try a personal hotspot or home Wi-Fi instead of a corporate VPN or firewalled office network, since many IT policies block
swscan.apple.comand related update domains. - Check Software Update settings — open System Settings > General > Software Update and make sure "Automatic Updates" isn't fully disabled by an MDM profile, which can also block manual Rosetta installs.
- Reset the software update cache by running
sudo softwareupdate --reset-ignoredand then retrying the Rosetta install command. - Check available disk space — Rosetta needs a small amount of free space to unpack; run
df -h /and confirm you have at least 1–2 GB free.
If your Mac is managed by a company MDM and the update servers are blocked at the network level, this is a job for whoever manages your endpoint security policy — if that's not something you control, our team can diagnose and resolve managed-Mac software restrictions through one-off remote support without requiring a long-term contract.
Method 4: Reinstall Rosetta After a Corrupted macOS Update
Sometimes a major macOS upgrade leaves Rosetta in a half-installed state. In that case:
1. Force a clean reinstall by running:
sudo softwareupdate --install-rosetta --agree-to-license2. Restart your Mac fully (not just sleep) — Rosetta's kernel extensions need a full boot cycle to register correctly after certain macOS updates.
3. Re-launch the affected Intel app and confirm it opens without the error.
If it still fails after a restart, check Console.app for oahd or rosetta related crash logs, which usually point to a specific corrupted framework file that a full macOS reinstall (via Recovery Mode) will resolve.
Prevention: Avoid This Error Going Forward
- Install Rosetta proactively right after setting up a new Apple Silicon Mac with
softwareupdate --install-rosetta --agree-to-licenseinstead of waiting for an app to trigger it - Prefer native Apple Silicon (Universal or ARM) builds of apps whenever available — check the developer's download page for an "Apple Silicon" or "Universal" tag
- Keep macOS updated to the latest point release, since Apple periodically ships Rosetta framework fixes in minor updates
- If you manage multiple Macs, bake the Rosetta install command into your onboarding script or MDM deployment profile so it's never missing on day one
Conclusion
The "Rosetta is not installed" error is almost always a one-command fix: softwareupdate --install-rosetta --agree-to-license. The trickier "not supported" variant usually means either you're on an Intel Mac (where Rosetta isn't needed) or an app's Rosetta compatibility flag is enabled before the framework itself has finished installing. Work through the methods above in order, and your Intel-only apps should be back up and running in minutes.