
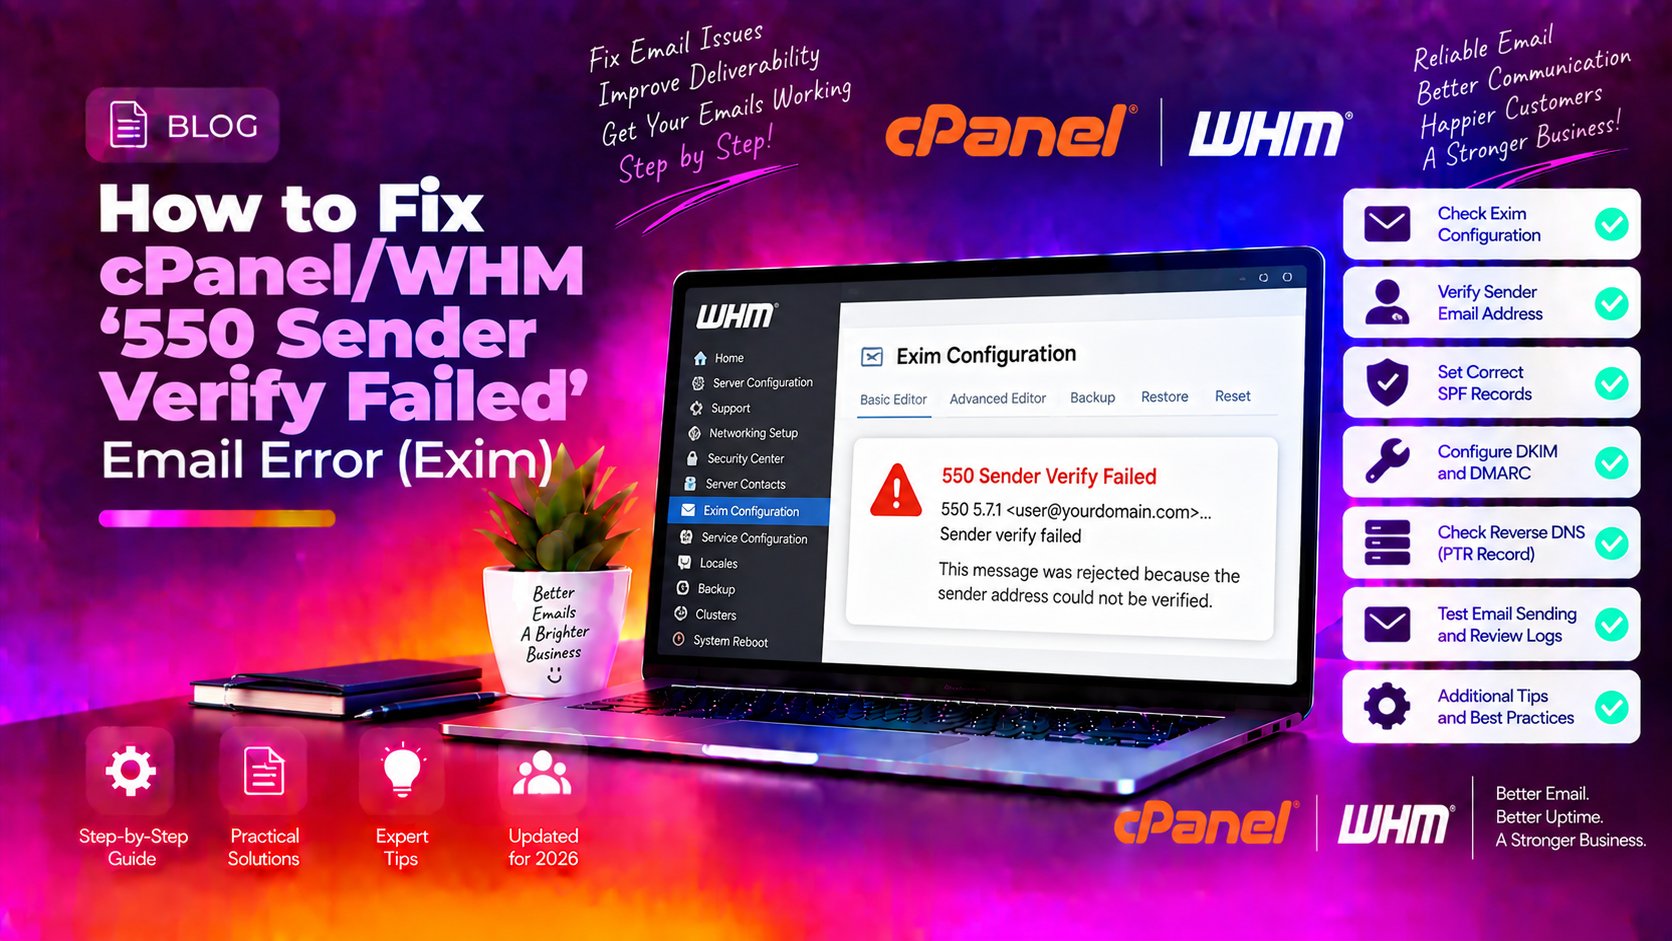
If emails sent through or to your cPanel/WHM server are bouncing with a 550 Sender Verify Failed error, you are not alone. This is one of the most common Exim errors that affects cpanel 550 sender verify failed fix searches every month — and it has four distinct root causes, each requiring a different remedy. This guide walks WHM administrators through every scenario in order of likelihood, with exact UI paths and command-line steps to get mail flowing again.
What Does '550 Sender Verify Failed' Mean in Exim?
When Exim receives an incoming message, it can optionally attempt to verify that the sender address is deliverable before accepting the mail. This process is called a sender callout verification (also known as a sender callback). Exim opens a temporary SMTP connection back to the sender's mail server and issues a RCPT TO probe for the From address. If that probe fails — because the remote server rejects it, is unreachable, or returns a temporary error — Exim rejects the incoming message with:
550 Sender verify failedThe same error can also appear when Exim tries to route an outgoing message and discovers the sender domain has no valid route — for example, when email routing is set to Local Mail Exchanger while MX records point externally, or when an account simply does not exist after an incomplete migration.
Reading the Exim mail log (/var/log/exim_mainlog) always reveals which of the four root causes applies. The sections below cover them in order of frequency.
💡 None of these worked? Skip the guesswork.
Get Expert Help →Root Cause 1: Sender Callout Verification Is Enabled in WHM
This is the most common trigger. WHM's Exim configuration includes a Sender Verification Callouts option that, when enabled, causes your server to probe every incoming sender address. Legitimate senders are rejected when their outbound SMTP server refuses the probe (many servers block RCPT-to-null probes as anti-spam), when DNS lookup is slow, or when a transient timeout occurs.
How to diagnose
Check the mainlog for lines similar to:
H=(mail.sender-domain.com) [203.0.113.44] F=<user@sender-domain.com>
  rejected RCPT <recipient@yourdomain.com>: Sender verify failed
If you see Sender verify failed without any routing error, callout verification is the culprit.
Fix: Disable Sender Verification Callouts in WHM
1. Log in to WHM at https://your-server-ip:2087.
Navigate to Home → Service Configuration → Exim Configuration Manager.
2. Open the Basic Editor and click the Mail tab.
3. Find "Sender Verification Callouts" and toggle it to Off.
4. Click Save at the bottom of the page. WHM will restart Exim automatically.
Alternative: Bypass specific IPs instead of disabling globally
If you only want to whitelist a partner's sending IP rather than disabling callouts sitewide, add that IP under Exim Configuration Manager → Advanced Editor, search for sender_verify_hosts, and add the IP to the bypass list. This preserves callout checking for unknown senders while exempting trusted partners.
Should you disable callouts permanently?
Sender callout verification catches some spoofed addresses, but it is widely considered an unreliable anti-spam technique — it generates backscatter, annoys legitimate senders, and creates false positives. Modern setups rely on SPF, DKIM, and DMARC for sender authentication instead. Disabling callouts is generally safe and recommended by cPanel's own documentation.
Root Cause 2: Incorrect Email Routing (Local vs Remote MX)
Each domain in cPanel has an Email Routing setting that tells Exim whether to handle mail for that domain locally or pass it to an external provider. When a domain's MX records point to Google Workspace, Microsoft 365, Zoho, or any off-server provider, but Email Routing is still set to Local Mail Exchanger, Exim tries to verify incoming senders against local mailboxes — fails to find them — and bounces the message with 550.
How to diagnose
In the mainlog look for:
F=<user@external-domain.com> rejected RCPT <recipient@yourdomain.com>:
  Unrouteable address
Or check the domain's routing directly:
grep "external-domain.com" /etc/localdomains
grep "external-domain.com" /etc/remotedomains
If a domain that uses external MX appears in /etc/localdomains, routing is misconfigured.
Fix: Set Email Routing to Remote Mail Exchanger
1. Log in to cPanel for the affected domain.
Go to Email → Email Routing.
2. Select the domain from the drop-down if you manage multiple.
3. Choose "Remote Mail Exchanger" and click Change.
cPanel will move the domain from /etc/localdomains to /etc/remotedomains and signal Exim to update routing instantly — no Exim restart required.
When to use each routing option
- Local Mail Exchanger — mail is hosted entirely on this cPanel server
- Remote Mail Exchanger — MX records point to an external provider (Google, Microsoft, Zoho, etc.)
- Automatically Detect Configuration — cPanel checks live MX records and decides; useful but may be slow to react after MX changes
- Backup Mail Exchanger — this server accepts mail as a secondary MX and relays to the primary
If you are unsure which MX the domain uses, run: dig MX yourdomain.com +short and compare the result against the server's own hostname.
Root Cause 3: Incomplete Email Migration — Account Not Found Locally
After migrating a cPanel account to a new server, it is common for mail to bounce if the domain's DNS (MX records) still points to the old server, or if the email accounts were not fully recreated on the new server. When the new server receives mail for a domain that is set to Local Mail Exchanger but the recipient mailbox does not exist yet, Exim cannot verify the sender and bounces with 550.
How to diagnose
Verify whether the email account exists on the new server:
ls /home/USERNAME/mail/DOMAIN/Or query the Exim virtual users file:
grep "user@domain.com" /etc/vdomainaliases/*
grep "domain.com" /etc/userdomains
If the account is missing, it was not migrated correctly.
Fix: Recreate missing accounts or complete the migration
1. Check WHM's Transfer Tool — go to WHM → Transfers → Transfer or Restore a cPanel Account and re-run the migration for the affected account. This ensures mailboxes, forwarders, and aliases are all copied.
2. Manually create missing email accounts — in cPanel, go to Email → Email Accounts → Create and recreate each missing mailbox.
3. Lower DNS TTL before migration — before your next migration, reduce the MX record TTL to 300 seconds (5 minutes) at least 24 hours in advance. This minimises the window during which mail is delivered to the old server after you cut over DNS.
4. Synchronise mail after DNS cutover — use imapsync or the WHM Transfer Tool's incremental sync to copy any mail that arrived on the old server during the DNS propagation window:
imapsync --host1 old-server.com --user1 user@domain.com --password1 'oldpass' --host2 new-server.com --user2 user@domain.com --password2 'newpass'If your server is experiencing recurring migration-related email issues, our managed server support team handles end-to-end cPanel migrations with zero-downtime mail cutover procedures.
Root Cause 4: Broken File Permissions on Mail Config Files
Exim reads several configuration files to route and verify mail: /etc/localdomains, /etc/remotedomains, /etc/userdomains, /etc/vdomainaliases/, and others. If file permissions are too restrictive (for example, not readable by the mailnull user that Exim runs as for verification), Exim cannot confirm that a sender or recipient address is valid, and it returns 550.
How to diagnose
Check permissions on critical mail config files:
ls -la /etc/localdomains /etc/remotedomains /etc/userdomains /etc/vdomainaliases/Expected permissions:
/etc/localdomains—644(root:root)/etc/remotedomains—644(root:root)/etc/userdomains—644(root:root)/etc/vdomainaliases/—755(root:root), files inside644
Also check the Exim configuration itself:
ls -la /etc/exim.conf
# Should be: 640 root:mail  or  644 root:root
Fix: Restore correct permissions
chmod 644 /etc/localdomains /etc/remotedomains /etc/userdomains
chmod 755 /etc/vdomainaliases/
chmod 644 /etc/vdomainaliases/*
chmod 640 /etc/exim.conf
chown root:mail /etc/exim.conf
Then restart Exim to reload the configuration:
service exim restart
# or on systemd:
systemctl restart exim
Run WHM's built-in repair tool to fix permissions globally:
/scripts/fixmailpermThis script, provided by cPanel, resets permissions on all mail-related directories and files for every hosted account. It is safe to run at any time and is the fastest way to rule out a permissions cause.
How to Read Exim Logs to Pinpoint the Exact Cause
Before applying any fix, spend two minutes reading the Exim mainlog. It will tell you which of the four root causes applies — saving you from making unnecessary changes.
Log file location
/var/log/exim_mainlog      # all SMTP transactions
/var/log/exim_rejectlog    # rejected messages only (useful for 550 errors)
Tail the log in real time
tail -f /var/log/exim_mainlog | grep -i "verify\|reject\|550"Then ask the sender to retry. The rejection entry appears within seconds.
Search for a specific sender or domain
grep "sender-domain.com" /var/log/exim_mainlog | tail -50Decode what each log line means
Callout verification failure (Root Cause 1):
2026-06-15 09:14:02 H=(mail.senderdomain.com) [198.51.100.22]
  F=<noreply@senderdomain.com> rejected RCPT <client@yourdomain.com>:
  Sender verify failed
Key indicator: the rejection happens at the RCPT stage with no routing error before it.
Email routing / unrouteable address (Root Cause 2):
2026-06-15 09:16:44 F=<info@remotedomain.com> rejected after DATA:
  Unrouteable address in "550 sender verify failed"
Key indicator: Unrouteable address appears alongside the 550.
Account not found after migration (Root Cause 3):
2026-06-15 09:20:11 SMTP call to verify sender <user@migrated-domain.com>
  failed: 550 Unknown user
Key indicator: Unknown user or No such user in the verification step.
File permission error (Root Cause 4):
2026-06-15 09:22:55 failed to open /etc/userdomains: Permission denied
  while verifying sender <any@address.com>
Key indicator: Permission denied referencing a mail config file path.
Use WHM's Exim Log Search tool
If you prefer a GUI, go to WHM → Email → Track Delivery. Enter the sender or recipient address and the date range. WHM parses the mainlog and presents results in a readable table, including the reason for each rejection.
Quick-reference diagnostic checklist
- Run
exim -bVto confirm Exim is running and print its version - Run
exim -bt user@senderdomain.comto test manual address routing - Run
exim -bh <sender-IP>to simulate an SMTP session from a given IP and observe what Exim does - Run
/scripts/mailpermto check and print current mail permissions without fixing them
Once you have confirmed the root cause from the log, apply only the relevant fix from the sections above. Making multiple changes simultaneously makes it harder to confirm which fix resolved the issue and may introduce new problems.
Managing Exim on a cPanel server with dozens of hosted domains can be complex — especially during migrations or after control panel upgrades change default settings. If the bounces persist after working through this guide, our team at managed server support can conduct a full Exim audit and resolve the underlying configuration within hours.