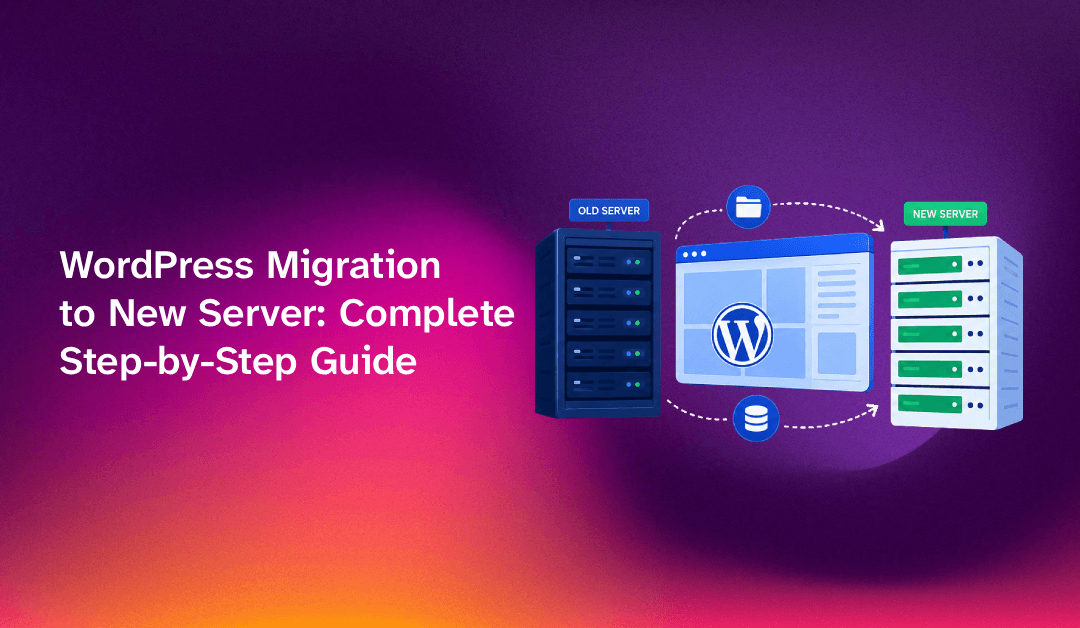
Performing a wordpress migration to new server is one of the most critical — and error-prone — tasks a site owner or sysadmin will face. Whether you are upgrading your hosting plan, switching providers, or consolidating infrastructure, a single missed step can result in a broken site, missing media, or a corrupted database. This guide walks you through every step manually, using real commands, and highlights two things most other guides skip: the /etc/hosts trick to test before DNS cutover and the WP-CLI search-replace command that correctly handles serialized data.
Pre-Migration Checklist: What to Do Before Moving WordPress
Rushing into a migration is the fastest way to break a live site. Before touching a single file, complete these checks.
- Confirm SSH access to both servers. You need root or sudo on both the old and new machine.
- Record your current PHP version. Run
php -von the old server and match it on the new one to avoid fatal plugin errors. - Note your current MySQL/MariaDB version. A major version gap (e.g., MySQL 5.7 → 8.0) can cause
InnoDBcompatibility issues. - Check disk space. Run
df -hon the new server — your new server needs at least twice the size of your WordPress directory free. - Lower your DNS TTL now. Log in to your domain registrar and set the TTL for your A record to 300 seconds (5 minutes). Do this 24 hours before the planned cutover so the change propagates before you switch IPs.
- Disable caching plugins. Turn off WP Super Cache, W3 Total Cache, or LiteSpeed Cache before exporting. Cached files can mask real content and bloat your transfer size.
- Document your wp-config.php credentials. Open
/var/www/html/wp-config.phpand noteDB_NAME,DB_USER,DB_PASSWORD, andDB_HOST.
If you would rather hand this checklist to a professional team, CloudHouse offers a fully managed server migration service that covers every step with zero-downtime guarantees.
💡 None of these worked? Skip the guesswork.
Get Expert Help →Step 1: Backup Your WordPress Files and Database
SSH into the old server and compress your entire WordPress root:
ssh user@old-server-ip
cd /var/www/html
tar -czf /tmp/wordpress_backup.tar.gz .
This produces a portable SQL dump of every table:
mysqldump -u DB_USER -pDB_PASSWORD DB_NAME > /tmp/wordpress_db.sql
Replace DB_USER, DB_PASSWORD, and DB_NAME with the values from your wp-config.php. If your database is large, add --single-transaction to avoid table locks on InnoDB:
mysqldump -u DB_USER -pDB_PASSWORD --single-transaction DB_NAME > /tmp/wordpress_db.sql
ls -lh /tmp/wordpress_backup.tar.gz /tmp/wordpress_db.sql
On Ubuntu/Debian:
apt update && apt install -y apache2 mysql-server php php-mysql php-curl php-gd php-mbstring php-xml php-zip
For Nginx instead of Apache, replace apache2 with nginx and configure a PHP-FPM pool.
mysql -u root -p
CREATE DATABASE new_wp_db CHARACTER SET utf8mb4 COLLATE utf8mb4_unicode_ci;
CREATE USER 'new_wp_user'@'localhost' IDENTIFIED BY 'strong_password_here';
GRANT ALL PRIVILEGES ON new_wp_db.* TO 'new_wp_user'@'localhost';
FLUSH PRIVILEGES;
EXIT;
WP-CLI is essential for the serialized search-replace step later:
curl -O https://raw.githubusercontent.com/wp-cli/builds/gh-pages/phar/wp-cli.phar
chmod +x wp-cli.phar
mv wp-cli.phar /usr/local/bin/wp
wp --info
rsync -avz --progress user@old-server-ip:/var/www/html/ /var/www/html/
Flags explained:
-a— archive mode (preserves permissions, timestamps, symlinks)-v— verbose output so you can see progress-z— compress data in transit to reduce transfer time--progress— shows per-file progress
A two-pass approach minimises downtime. Run the first pass while the old site is still live to transfer the bulk of data, then run a delta sync at cutover to catch only files that changed:
# Pass 1 — bulk transfer (run while old site is live)
rsync -avz --progress user@old-server-ip:/var/www/html/ /var/www/html/

# Pass 2 — delta sync at cutover (only changed/new files)
rsync -avz --progress --delete user@old-server-ip:/var/www/html/ /var/www/html/
The --delete flag in Pass 2 removes files on the destination that no longer exist on the source, keeping the two directories in perfect sync.
chown -R www-data:www-data /var/www/html/
find /var/www/html/ -type d -exec chmod 755 {} \;
find /var/www/html/ -type f -exec chmod 644 {} \;
scp user@old-server-ip:/tmp/wordpress_db.sql /tmp/wordpress_db.sql
Or use rsync for reliability on large dumps:
rsync -avz user@old-server-ip:/tmp/wordpress_db.sql /tmp/
mysql -u new_wp_user -p new_wp_db < /tmp/wordpress_db.sql
Alternatively, use WP-CLI if WP is already configured on the new server:
wp db import /tmp/wordpress_db.sql --path=/var/www/html
mysql -u new_wp_user -p new_wp_db -e "SHOW TABLES;"
You should see all your WordPress tables: wp_posts, wp_options, wp_users, etc.
nano /var/www/html/wp-config.php
Change these four lines:
define( 'DB_NAME',     'new_wp_db' );
define( 'DB_USER',     'new_wp_user' );
define( 'DB_PASSWORD', 'strong_password_here' );
define( 'DB_HOST',     'localhost' );
This is the most important step that most guides skip or do incorrectly. Never use raw SQL REPLACE() to update URLs in WordPress. WordPress stores widget settings, theme options, and plugin configurations as PHP serialized strings. A raw SQL replace changes the URL string length but does not update the byte-count prefix inside the serialized wrapper — this corrupts the data silently, breaking your widgets and theme settings.
WP-CLI's search-replace command understands serialized data and re-serializes correctly after every replacement:
# Dry run first — see what will change without modifying anything
wp search-replace 'https://old-domain.com' 'https://new-domain.com' --dry-run --path=/var/www/html

# Execute the real replacement
wp search-replace 'https://old-domain.com' 'https://new-domain.com' --path=/var/www/html

# If you are also changing www vs non-www, run it for both variants
wp search-replace 'http://old-domain.com' 'https://new-domain.com' --path=/var/www/html
Expected output shows a table of affected rows per table, for example:
+-----------------------+-------+--------------+------+
| Table                 | Column| Replacements | Type |
+-----------------------+-------+--------------+------+
| wp_options            | option_value | 47 | PHP  |
| wp_posts              | post_content | 312 | SQL |
| wp_postmeta           | meta_value | 8  | PHP  |
+-----------------------+-------+--------------+------+
wp cache flush --path=/var/www/html
wp rewrite flush --path=/var/www/html
curl ifconfig.me # run this on the new server
Suppose the new server IP is 203.0.113.50.
sudo nano /etc/hosts
Add this line at the bottom:
203.0.113.50 yourdomain.com www.yourdomain.com
On Windows, the file lives at C:\Windows\System32\drivers\etc\hosts — edit it as Administrator.
Your browser will now resolve your domain to the new server IP without any DNS change. The old site remains live for all other users. Test thoroughly:
- Home page loads with correct content and images
- Internal links navigate correctly (no redirect loops)
- Admin login at
/wp-adminworks - Contact forms and checkout flows function
- SSL certificate is valid (green padlock)
Delete the line you added and save. Your browser returns to resolving the domain via real DNS.
Log in to your domain registrar and change the A record for yourdomain.com and www.yourdomain.com to the new server IP. Since you lowered the TTL to 300 seconds in the pre-migration checklist, propagation completes in about 5 minutes for most users.
Post-Migration Testing and Troubleshooting
Once DNS has propagated, run these checks from a device outside your network (or use a tool like whatsmydns.net) to confirm everything is healthy.
Essential Post-Migration Checks
- HTTP response code. Run
curl -I https://yourdomain.com— expect200 OK. A301loop usually meansWP_HOME/WP_SITEURLin wp-config.php is wrong. - Database connectivity. If you see "Error Establishing a Database Connection", double-check
DB_HOST,DB_USER,DB_PASSWORD, andDB_NAMEin wp-config.php. - Permalink structure. Visit Settings → Permalinks in WP Admin and click Save (even without changes). This regenerates the
.htaccessrewrite rules on Apache. - 404 on posts but not home. Apache mod_rewrite is likely not enabled. Run
a2enmod rewrite && systemctl restart apache2. - White screen of death. Enable WP_DEBUG by adding
define('WP_DEBUG', true);to wp-config.php temporarily. Check/var/log/apache2/error.logor/var/log/nginx/error.log. - Missing images. Verify the
wp-content/uploadsdirectory was transferred. Check permissions:ls -la /var/www/html/wp-content/uploads/— it should be owned bywww-data. - SSL errors. If you moved to a new server, your Let's Encrypt certificate is tied to the old server. Run
certbot --nginx -d yourdomain.com(or--apache) on the new server to issue a new certificate. - Plugin/theme conflicts. Disable all plugins via WP-CLI:
wp plugin deactivate --all --path=/var/www/html, test the site, then re-enable plugins one by one.
Common Error Messages and Fixes
N. "Too Many Redirects" loop
This typically happens when siteurl and home in the wp_options table still point to the old URL despite the search-replace. Fix with:
wp option update siteurl 'https://new-domain.com' --path=/var/www/html
wp option update home 'https://new-domain.com' --path=/var/www/html
N. MySQL "Access Denied" on import
The user does not have the right privileges. Re-run the GRANT statement from Step 2 and verify with SHOW GRANTS FOR 'new_wp_user'@'localhost';
N. rsync "Permission denied (publickey)"
Copy your SSH public key to the old server: ssh-copy-id user@old-server-ip. If you do not have key-based auth, add --rsh="ssh -p 22" and use a password.
FAQs
See the FAQ section below for answers to the most common WordPress migration questions.
Migrating WordPress to a new server manually gives you complete control over every file and database row. The two steps that make or break a migration — testing with /etc/hosts before DNS cutover and using WP-CLI's serialization-aware search-replace instead of raw SQL — are what separate a clean migration from hours of troubleshooting. Follow this guide step by step and your site will be live on the new server with zero data loss and minimal downtime.
Need help from engineers who have done this hundreds of times? CloudHouse's server migration service handles WordPress migrations of any size with guaranteed uptime.