The native cPanel backup system in WHM covers the basics, but serious hosting operations need more: incremental backups to cut storage costs, multiple off-site destinations for disaster recovery, granular file and database restores for individual cPanel accounts, and scheduled retention policies. JetBackup 5 delivers all of this as a WHM plugin — and this guide walks through the complete setup from license activation to your first verified restore.
Why JetBackup 5 Instead of cPanel's Native Backup?
cPanel's built-in backup creates full compressed archives on a fixed schedule. JetBackup 5 adds:
- True incremental backups — only changed files are copied after the initial full backup, dramatically reducing storage and bandwidth usage
- Multiple simultaneous destinations — local disk, FTP, SFTP, Amazon S3, Cloudflare R2, Backblaze B2, Google Cloud Storage, and more
- Granular restore options — restore an individual MySQL database, a specific directory, or email accounts without restoring the entire cPanel account
- End-user self-service restores — cPanel users can restore their own files and databases without contacting support
- Retention policies — keep daily snapshots for 7 days, weekly for 4 weeks, monthly for 6 months simultaneously
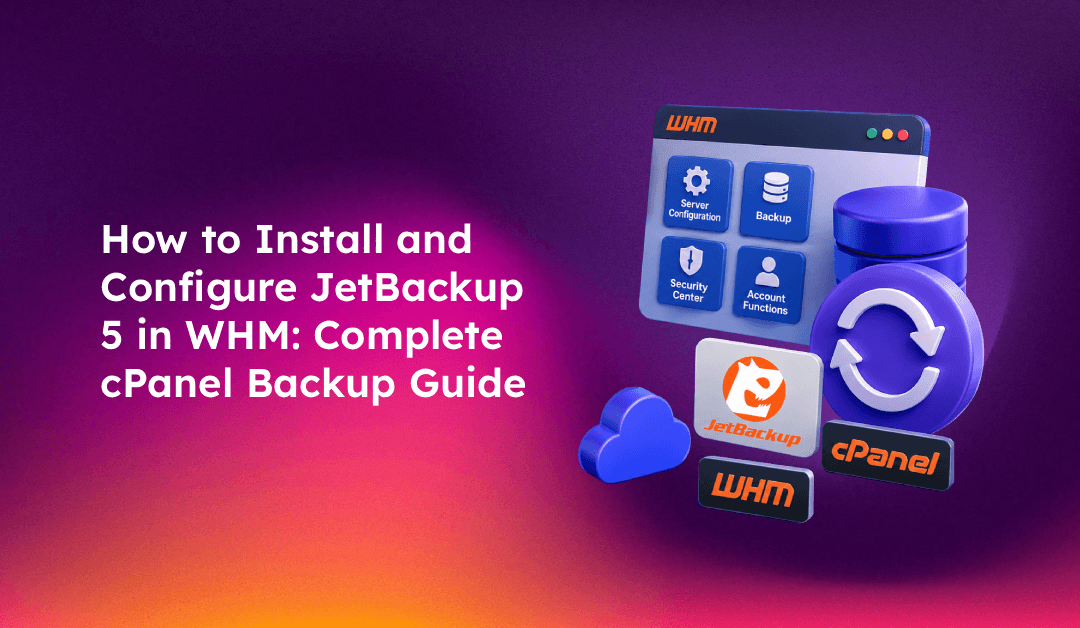
Step 1: Install JetBackup 5 in WHM
Log into WHM as root and navigate to Plugins > JetApps. If JetApps is not installed, run the installer first:
curl -fsSL https://repo.jetlicense.com/centOS/install.sh | bashOnce JetApps is installed, locate JetBackup 5 in the plugin list, select your tier (Starter, Standard, or Unlimited), and click Install. The installation takes 2–5 minutes. JetBackup 5 requires:
- CentOS 7/8, AlmaLinux 8/9, CloudLinux 7/8, or Rocky Linux 8/9
- cPanel/WHM 98 or later
- PHP 7.2+ (used by JetBackup's internal processes)
- Minimum 2 GB RAM (4 GB recommended for servers with 50+ accounts)
After installation, access JetBackup via WHM > Plugins > JetBackup 5.
Step 2: Activate Your JetBackup License
On first launch, you will be prompted to accept the EULA and enter your license key. If you purchased through JetLicense:
1. Log into your JetLicense account and copy your license key from the Products section.
2. Enter the key in JetBackup's license activation screen in WHM.
3. Click Activate — JetBackup validates against JetLicense's servers and activates within 30 seconds.
If you purchased a reseller license or a per-account license, the tier limits are enforced automatically. If your license lapses, backups continue running but restores are blocked until renewed.
Step 3: Configure a Backup Destination
Navigate to JetBackup 5 > Destinations > Add Destination. JetBackup supports multiple destination types:
Local Storage
For local backups to a secondary disk or NAS mount:
- Type: Local
- Path:
/backup(or your mounted secondary storage path) - Recommended: use a separate partition or mount point, never the OS disk
Amazon S3 / Cloudflare R2 (S3-Compatible)
For cloud off-site backups using S3-compatible storage (Amazon S3, Cloudflare R2, Backblaze B2, Wasabi):
1. Install the S3 plugin: in WHM > JetApps, enable the S3 Compatible destination plugin if not already active.
2. Create your bucket in your cloud storage provider. Important: disable bucket versioning, Object Lock, Governance Mode, and Object Lifecycle rules — these are not supported by JetBackup and will cause backup failures.
3. Add the destination in JetBackup:
Type: S3 Compatible
Name: My R2 Backups
Endpoint: https://<account-id>.r2.cloudflarestorage.com (for R2)
https://s3.amazonaws.com (for AWS S3)
Bucket: your-bucket-name
Access Key: your-access-key-id
Secret Key: your-secret-access-key
Region: auto (R2) or us-east-1 (S3)
Compression: Enabled
Encryption: Enabled (recommended)4. Test the connection using the Test Connection button before saving. A green success response confirms credentials and bucket access are correct.
SFTP Destination
Type: SFTP
Host: backup.example.com
Port: 22
User: backupuser
Auth: SSH Key (preferred) or Password
Path: /remote/backup/pathStep 4: Create Backup Jobs
Navigate to JetBackup 5 > Backup Jobs > Add Job. A backup job defines what to back up, where, when, and for how long to retain it.
Recommended Backup Job Configuration
1. Job Name: Daily Incremental to R2
2. Backup Type: Accounts (backs up all cPanel accounts with all items: files, databases, email, DNS zones)
3. Destination: Select your R2 or S3 destination from Step 3
4. Schedule:
Frequency: Daily
Time: 2:00 AM (off-peak)
Day: Every day5. Retention Policy:
Keep: 7 daily backups
4 weekly backups
3 monthly backups6. Incremental: Enabled (all files backed up incrementally after first full backup; databases are always full)
7. Server Load Limit: Set to 5 — JetBackup pauses the job if server load average exceeds this value, protecting your hosting clients
Click Save, then trigger a manual run immediately to confirm the job works: Backup Jobs > Run Now.
Step 5: Enable End-User Self-Service Restores
Navigate to JetBackup 5 > Settings > Permissions. Enable the following for cPanel users:
- Restore Files — allows users to restore individual files from their account backups
- Restore Databases — allows users to restore specific MySQL databases
- Download Backups — allows users to download their own backup archives
Once enabled, cPanel users will see a JetBackup section in their cPanel interface where they can initiate their own restores without opening a support ticket.
Step 6: Restore a cPanel Account in WHM
To restore a full cPanel account:
1. Navigate to WHM > Plugins > JetBackup 5 > Accounts
2. Search for the cPanel username you want to restore
3. Click the account to expand the backup list — you will see all available restore points
4. Click Restore next to the desired backup date
5. In the restore options dialog:
- Uncheck Suspend account after restore if the account was suspended when backed up (this prevents the restored account from being auto-suspended)
- Select which items to restore: Home Directory, MySQL Databases, Email Accounts, DNS Zones, Cron Jobs
6. Click Confirm Restore
7. Monitor progress in JetBackup 5 > Queue
Restore Stability Settings
For servers handling large account restores, configure in Settings > Restore:
Queue Active: Yes (processes restores one at a time)
Restore Server Load: 5 (pauses if load exceeds this)
Max Restore Retries: 3Step 7: Monitor Backup Status and Set Up Email Alerts
Navigate to JetBackup 5 > Settings > Notifications. Configure:
- Email on backup failure — sends alert to the root account email when a backup job fails
- Email on backup success — optional daily summary of completed jobs
- Notification email: your admin or NOC email address
Monitor daily in JetBackup 5 > Dashboard — the dashboard shows the last run status, total storage used per destination, and backup job health indicators.
Common JetBackup 5 Errors and Fixes
Error: "Account restore failure — account suspended"
Cause: the account was suspended at backup time. Fix: uncheck Suspend account after restore in the restore dialog.
Error: "Destination connection failed"
Cause: incorrect S3/R2 credentials or bucket configuration. Fix: verify access key, secret key, endpoint URL, and bucket name. Confirm no Object Lock or Versioning on the bucket.
Error: "Backup job stuck in queue"
Cause: server load is too high or a previous job is still running. Check queue in JetBackup 5 > Queue and clear stale entries. Verify Queue Active = Yes to prevent parallel jobs.
Error: "License validation failed"
Cause: license expired or server IP changed. Log into JetLicense to check license status and re-associate with the current server IP if needed.
If backup failures persist, check logs at /usr/local/jetapps/var/log/jetbackup5/ for detailed error output. CloudHouse's server management team can diagnose and resolve persistent JetBackup configuration issues on your behalf.
Best Practices for JetBackup 5 on Production WHM Servers
- Always configure at least two destinations — one local (for fast restores) and one off-site S3/R2 (for disaster recovery)
- Test restores quarterly — a backup that has never been restored-tested is not a backup you can rely on
- Run
rkhunter --propupdafter restoring accounts to update your security baseline - Monitor storage growth monthly — incremental backups grow over time; adjust retention policies as storage costs increase
- Enable compression and encryption on all remote destinations to reduce transfer size and protect data in transit and at rest
FAQs
Does JetBackup 5 replace the cPanel native backup system?
JetBackup 5 replaces it for most use cases, but it is not mandatory to disable the native system. Many admins run both in parallel during the transition period, then disable native backups once JetBackup is verified working. Note that JetBackup restores are independent of cPanel's backup manager.
How much storage do JetBackup 5 incremental backups use?
The first run is a full backup (size equals total account data). Subsequent incremental runs typically use 5–30% of full backup size per day, depending on how actively files change. Databases are always backed up in full on each run since incremental database snapshots are not supported.
Can cPanel end-users restore their own files with JetBackup 5?
Yes — once you enable self-service restore permissions in JetBackup's Settings, cPanel users see a JetBackup panel in their cPanel interface and can restore files, databases, and email without contacting support. This significantly reduces restore-related tickets for hosting providers.
What should I do if a JetBackup restore fails?
Check the Queue section for the specific error message. Common causes include suspended accounts (uncheck "Suspend after restore"), insufficient disk space on the destination, or corrupted backup archives. If the archive is corrupt, run a new full backup before attempting to restore again. For persistent failures, check logs at /usr/local/jetapps/var/log/jetbackup5/.
Is JetBackup 5 compatible with CloudLinux?
Yes — JetBackup 5 is fully compatible with CloudLinux 7 and 8, which is a common combination on shared hosting servers. LVE (Lightweight Virtual Environment) limits are respected during backup jobs to prevent individual account backups from consuming excessive resources.
Conclusion
JetBackup 5 transforms WHM's backup capabilities from a basic scheduled archive system into a professional-grade incremental, multi-destination backup solution with granular restore options and end-user self-service. The key setup steps are: install via JetApps, configure at least two destinations (local + S3/R2), create scheduled backup jobs with appropriate retention policies, enable self-service restore for cPanel users, and test a full account restore before going live. If you need help implementing a robust cPanel backup strategy across your server fleet, CloudHouse's server management service handles JetBackup deployment, monitoring, and disaster recovery testing.