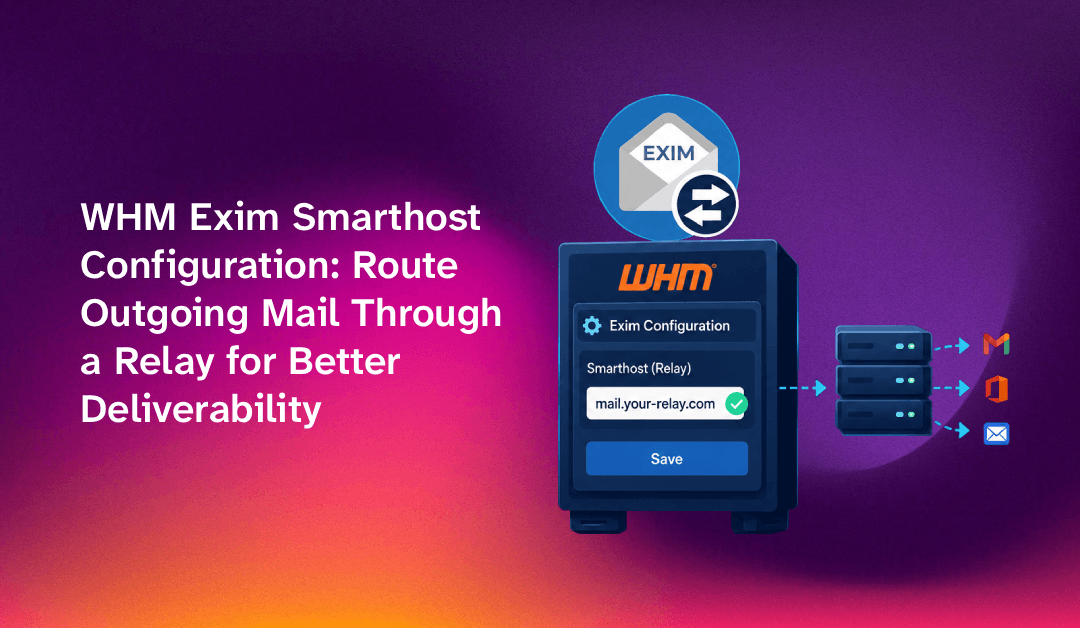
If outgoing mail from your cPanel server keeps landing in spam folders or getting blocked outright, WHM Exim smarthost configuration is likely the fix you need. A smarthost — also called an outbound SMTP relay — routes all outgoing email through a trusted third-party mail gateway before it reaches recipients, effectively borrowing that gateway's strong IP reputation. This guide walks hosting sysadmins through every step: from a global relay setup in the WHM Exim Configuration Manager to per-domain routing that lets different accounts send through different smarthosts.
Why Hosting Sysadmins Route Outgoing Mail Through a Smarthost
Shared hosting servers are a deliverability minefield. A single compromised account sending spam can get the entire server's IP blacklisted within hours. Even without an active abuse issue, new server IPs start with zero reputation — and major inbox providers like Gmail, Outlook, and Yahoo treat unknown IPs with deep suspicion.
A smarthost relay solves this by acting as an authenticated intermediary. Your Exim server hands off outbound mail to a relay provider (SendGrid, SparkPost, Amazon SES, Mailchannels, or a dedicated SMTP gateway) that already has:
- Established IP reputation built over millions of legitimate sends
- Active feedback loops with major inbox providers
- Automatic bounce and complaint handling
- Dedicated IP warmup programs for high-volume senders
The result: your server's outbound mail bypasses the reputation problems tied to the server IP entirely. This is why cpanel exim outgoing mail relay configuration is one of the first things an experienced sysadmin sets up on a new shared hosting node.
Beyond deliverability, smarthosts give you centralized logging, rate limiting per account, and the ability to apply content filtering before mail ever leaves your infrastructure — capabilities that Exim alone does not provide out of the box.
💡 None of these worked? Skip the guesswork.
Get Expert Help →Prerequisites: What to Check Before Configuring Exim in WHM
Before touching the Exim Configuration Manager, confirm the following:
You need the smarthost hostname, port (usually 587 or 465), and SMTP authentication credentials from your relay provider. Have these ready before you open WHM.
In WHM, navigate to Service Configuration > Exim Configuration Manager, click the Backup tab, and download the current config. If anything goes wrong you can restore in seconds without reading a 5,000-line config file from scratch.
Run your server IP through MXToolbox (https://mxtoolbox.com/blacklists.aspx) and check your PTR (reverse DNS) record. If the IP is on major blacklists, contact your data centre to delist it in parallel — a smarthost solves future sends but does not retroactively fix existing blacklistings.
In WHM, go to Service Manager and verify Exim is enabled. Run exim -bV via SSH to confirm the version — this guide applies to Exim 4.x, which is what all modern cPanel installs ship with.
If you or a previous admin added custom routers or transports to Exim's advanced config, a new smarthost route could conflict. Review /etc/exim.conf.local if it exists, and the advanced editor in WHM for any existing manualroute entries.
Log in to WHM as root. In the left sidebar search box, type exim and click Exim Configuration Manager. This opens the Basic Editor by default.
Click the Advanced Editor tab. This gives you direct access to Exim's raw configuration sections. The interface is divided into labelled blocks: ACL, Routers, Transports, Retry Rules, etc.
Find the text begin routers or use the browser's in-page search for POSTMAILCOUNT (a cPanel-specific marker). Just above the lookuphost router block (which handles normal direct delivery), insert the following router definition:
smarthost_router:
  driver = manualroute
  domains = !+local_domains
  transport = smarthost_transport
  route_list = * relay.yourprovider.com::587
  no_more
Replace relay.yourprovider.com with your relay provider's hostname. The double-colon notation (::587) specifies the port. Use ::465 for SMTPS if your provider requires it.
Scroll down to the begin transports section and add:
smarthost_transport:
  driver = smtp
  hosts_require_auth = relay.yourprovider.com
hosts_require_tls = relay.yourprovider.comScroll to the begin authenticators section and add a plain authenticator:
smarthost_login:
  driver = plaintext
  public_name = LOGIN
  client_send = : your_smtp_username : your_smtp_password
Replace your_smtp_username and your_smtp_password with the credentials from your relay provider. For security, some providers support storing credentials in a file — consult your provider's documentation for file-based credential options if you prefer not to embed them in the config.
Scroll to the bottom of the Advanced Editor and click Save. WHM will validate the configuration syntax before applying it. If there are errors, WHM will highlight them. Once saved, Exim restarts automatically. Confirm via SSH:
service exim restart
exim -bVVia SSH as root, create /etc/exim_smarthosts:
touch /etc/exim_smarthosts
chmod 0644 /etc/exim_smarthosts
chown root:root /etc/exim_smarthosts
Add entries in this format — one domain per line, domain and relay separated by a space or colon:
domain1.com   relay1.provider.com::587
domain2.com   relay2.anotherprovider.com::587
domain3.com smtp.sendgrid.net::587In the Routers section, add this router above your global smarthost router (so it's evaluated first):
domain_specific_smarthost:
  driver = manualroute
  domains = !+local_domains
  transport = smarthost_transport
  route_list = * ${lookup{$sender_address_domain}lsearch{/etc/exim_smarthosts}}
  no_more
  condition = ${lookup{$sender_address_domain}lsearch{/etc/exim_smarthosts}{true}{false}}
This router fires only when the sending domain exists in /etc/exim_smarthosts. Domains not listed fall through to the global smarthost router or direct delivery as normal.
If different relay providers require different credentials, create a parallel file /etc/exim_smarthosts_credentials:
domain1.com   username1:password1
domain2.com   username2:password2
Then reference it in a custom authenticator that performs a lookup on $sender_address_domain. The exact syntax depends on your Exim version — refer to the Exim specification chapter on authenticators for the plaintext driver with dynamic client_send strings.
Use Exim's routing test mode to verify a specific domain will be routed correctly without sending a real email:
exim -bt user@domain1.com
exim -bh 127.0.0.1 << EOF
EHLO localhost
MAIL FROM:<test@domain1.com>
RCPT TO:<recipient@example.com>
DATA
Subject: Test
.
QUIT
EOF
The -bt flag (address test mode) shows exactly which router and transport Exim will use — you'll see router = domain_specific_smarthost for domains in the list and a different router for domains not in the list.
Send a test email from a command line on the server:
echo "Test email body" | mail -s "Smarthost Test" testrecipient@gmail.comThen tail the Exim main log immediately:
tail -f /var/log/exim_mainlogLook for a line like:
SMTP connection outbound ... to relay.yourprovider.com [x.x.x.x]:587This confirms Exim is handing off to the relay. If you see connect to relay.yourprovider.com followed by 250 OK, delivery succeeded.
Authentication errors appear in the main log as:
SMTP error from remote mail server after AUTH: 535 5.7.8 Authentication credentials invalidDouble-check the username and password in your authenticator block. Some providers use the API key as the password with a fixed username (e.g., SendGrid uses apikey as the username).
If TLS negotiation fails you'll see:
TLS error on connection to relay.yourprovider.com: SSL_connect: errorTry adding tls_verify_certificates = /etc/ssl/certs/ca-certificates.crt to the transport block, or temporarily set hosts_require_tls to a blank string to test without TLS (never leave TLS disabled in production).
WHM provides a built-in GUI log viewer under Email > Mail Delivery Reports. Filter by time range and check the relay column to confirm all outbound messages are showing your smarthost as the delivery route rather than direct delivery.
After confirming the relay is working at the log level, use a tool like mail-tester.com or GlockApps to send a test message and check inbox placement scores, SPF/DKIM alignment, and header routing. The Received: headers in the email should show your relay provider's servers, confirming the message passed through the smarthost.
If you need expert help managing your Exim configuration, cPanel environment, or overall server email stack, CloudHouse provides a comprehensive server management service with experienced Linux and cPanel engineers available around the clock.
FAQs: WHM Exim Smarthost Troubleshooting
See the FAQ section below for answers to the most common questions about WHM Exim smarthost setup and troubleshooting.
Conclusion
Properly configured WHM Exim smarthost routing transforms a deliverability liability into a controlled, auditable outbound mail pipeline. Whether you route all traffic through a single global relay or implement granular per-domain routing for individual client accounts, the Exim Configuration Manager gives you the flexibility to match any hosting environment's requirements. Start with a thorough backup, test each change with exim -bt and live log tailing, and monitor inbox placement scores after every configuration change. For hosting providers managing dozens or hundreds of cPanel servers, standardising smarthost configuration across the fleet is one of the highest-leverage steps you can take to protect both your infrastructure's reputation and your clients' email deliverability.