
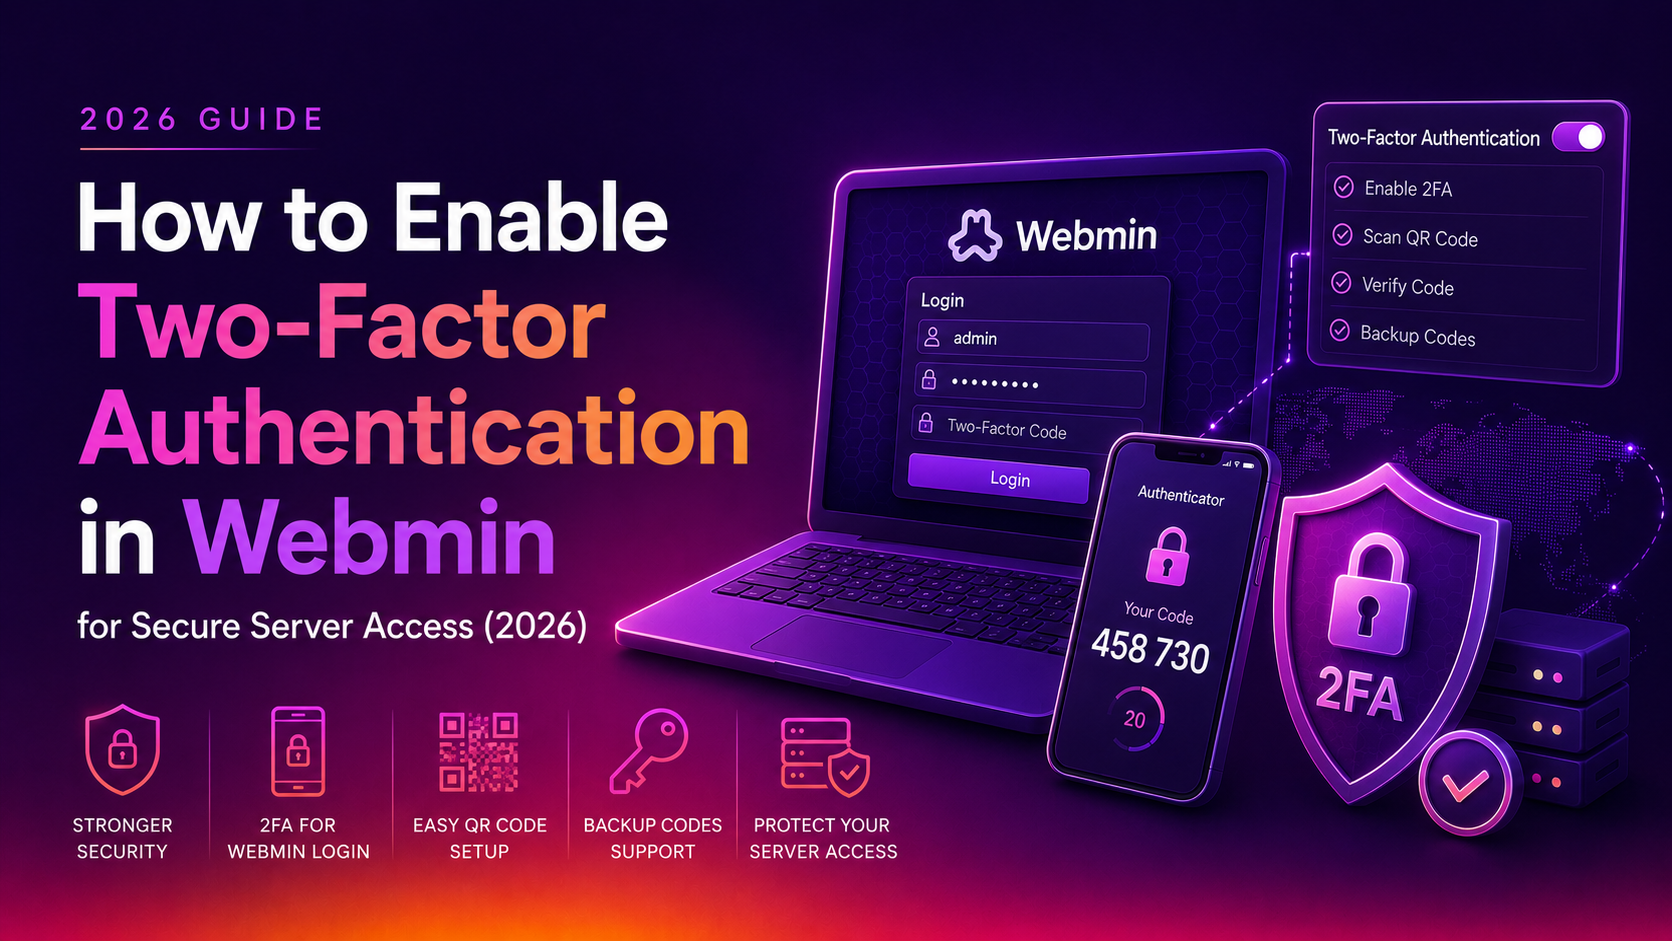
Webmin's admin panel is a high-value target for attackers — a single compromised login gives root-level access to your entire server. Enabling two-factor authentication (2FA) in Webmin means that even if an attacker obtains your password, they cannot log in without the second factor from your authenticator app. This guide walks through every method for enabling 2FA in Webmin, from Google Authenticator to TOTP hardware keys, plus how to configure it for multiple users and recover access if you lose your device.
2FA Methods Supported by Webmin
- TOTP (Time-Based One-Time Password): The most common method. Works with Google Authenticator, Authy, Microsoft Authenticator, and any TOTP-compatible app. Generates a new 6-digit code every 30 seconds.
- YubiKey / Hardware Token: Physical security key using OTP. Very high security — requires physical possession of the key.
- Email-based OTP: One-time code sent to your registered email. Less secure than TOTP but a useful fallback.
This guide focuses on TOTP (Google Authenticator compatible) — the most practical choice for server administrators.
Prerequisites
- Webmin installed and accessible (typically at
https://yourserver:10000) - A smartphone with Google Authenticator, Authy, or Microsoft Authenticator installed
- Root or Webmin admin access
- The
Webmin Two-Factor Authenticationmodule (included in standard Webmin installations)
Step 1 — Install the Required Perl Module
Webmin's TOTP 2FA requires the Authen::OATH Perl module and a QR code generator.
# Install on AlmaLinux / CentOS / Rocky Linux
yum install -y perl-Authen-OATH perl-GD perl-GD-Barcode 2>/dev/null ||   cpan Authen::OATH

# Install on Debian / Ubuntu
apt-get install -y libauthen-oath-perl libgd-perl libgd-barcode-perl 2>/dev/null ||   cpan Authen::OATH

# Verify the module is installed
perl -e "use Authen::OATH; print 'OK
'"
If cpan is used, accept all defaults when prompted. The module takes 1-2 minutes to compile and install.
💡 None of these worked? Skip the guesswork.
Get Expert Help →Step 2 — Enable 2FA in Webmin Global Settings
https://yourserver:10000 as root or admin.
2. Navigate to Webmin → Webmin Configuration → Two-Factor Authentication
Choose Google Authenticator (TOTP compatible). This works with any TOTP app — not just Google's. Click Save.
To require 2FA for all Webmin users (strongly recommended), go to Webmin → Webmin Users, select a user, and enable Two-factor authentication required. Repeat for each user, or configure a global policy.
Or navigate to your user profile: Webmin → Change Language and Theme → Two-Factor Authentication.
Open Google Authenticator (or Authy) on your phone:
- Tap the + button
- Select Scan a QR code
- Scan the QR code shown in Webmin
Your authenticator app will immediately start generating 6-digit codes for your Webmin server.
Enter the current 6-digit code from your app into the Verification code field in Webmin. Click Enable Two-Factor Authentication. If the code is accepted, 2FA is now active for your account.
Webmin displays one-time backup codes after enabling 2FA. Store these securely — ideally in a password manager or printed and locked away. These codes let you log in if you lose your phone.
Users who haven't set up 2FA will be forced to enrol on their next login — they cannot access Webmin until 2FA is configured on their device.
nano /etc/webmin/miniserv.conf
# Add:
twofactor_required=1
systemctl restart webmin
Step 6 — Additional Security: Restrict Webmin Access by IP
Combine 2FA with IP allowlisting for maximum security — even with the correct password and 2FA code, only connections from your office or VPN IP are accepted:
nano /etc/webmin/miniserv.conf
# Add your allowed IPs (comma-separated):
allow=YOUR_OFFICE_IP 127.0.0.1

systemctl restart webmin
This is the most secure Webmin configuration: HTTPS + strong password + TOTP 2FA + IP allowlist.
Recovery: How to Disable 2FA if You Lose Your Phone
# SSH into the server as root, then:
# Method 1: Edit user config directly
sed -i '/twofactor/d' /etc/webmin/users/root
systemctl restart webmin

# Method 2: Temporarily disable 2FA globally
sed -i 's/^twofactor_required=.*/twofactor_required=0/' /etc/webmin/miniserv.conf
systemctl restart webmin
# Re-enable after setting up 2FA on new device
This is why maintaining root SSH access with key-based authentication is critical — it's your recovery path when Webmin 2FA locks you out.
Two-factor authentication is the single most effective security control you can add to a Webmin server. Combined with SSH key authentication, IP allowlisting, and regular security audits, it makes unauthorised access extremely difficult even for well-resourced attackers. CloudHouse Technologies provides expert Linux server hardening services including Webmin 2FA setup, SSH hardening, firewall configuration, and ongoing security monitoring.