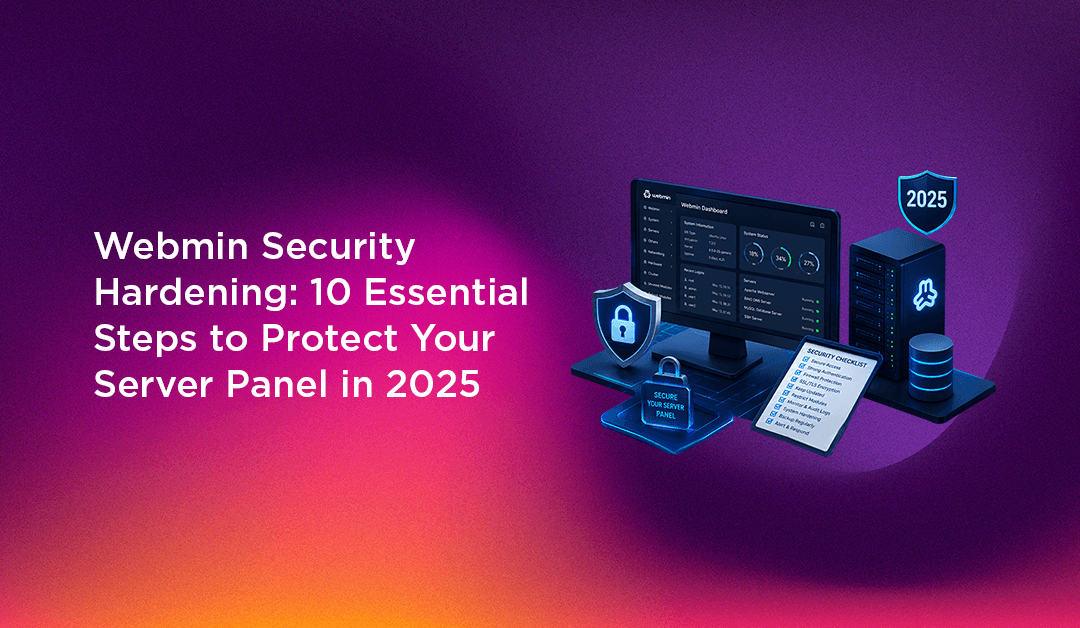
Webmin is one of the most widely used web-based server administration panels — and one of the most frequently targeted. If you run Webmin on a production server with default settings, you are offering attackers a known port (10000), predictable login paths, and in many cases, no rate-limiting or 2FA. The 2019 supply chain backdoor (CVE-2019-15107) and the 2022 file-read RCE (CVE-2022-0824) are reminders that Webmin's attack surface is real and actively exploited.
This guide covers 10 hardening steps every sysadmin should apply before or immediately after a Webmin installation. Each step reduces a distinct attack vector.
Why Webmin Is a High-Value Attack Target
Webmin runs with root-level privileges. Compromising it means owning the entire server. Three things make it an attractive target:
- Known default port: Port 10000 is trivially scanned by tools like Shodan and Masscan. Thousands of exposed Webmin installs are indexed at any time.
- CVE history: Notable vulnerabilities include CVE-2019-15107 (backdoored tarballs — unauthenticated RCE), CVE-2022-0824 (post-auth file read leading to RCE), and CVE-2021-31760 (CSRF in ajaxterm). Unpatched installs are prime targets.
- Credential stuffing: Most Webmin installs use the server's root password. Credential lists from other breaches are routinely tested against port 10000.
The good news: hardening Webmin is straightforward and takes under an hour.
💡 None of these worked? Skip the guesswork.
Get Expert Help →Step 1–3: Change Default Port, Enable SSL, and Disable Root Login
Edit /etc/webmin/miniserv.conf and change the port line:
port=12321Then restart Webmin: systemctl restart webmin
Update your firewall to allow only the new port from trusted IPs. This alone eliminates the majority of automated scans targeting port 10000.
A self-signed certificate warns users with browser errors and gives attackers a MITM opportunity. Replace it:
- Navigate to Webmin Configuration > SSL Encryption > Let's Encrypt
- Enter your server's FQDN and request a certificate
- Force HTTPS by ensuring
ssl=1is set inminiserv.conf
To restrict to TLS 1.2 and above, add to miniserv.conf:
ssl_version=3Go to Webmin Configuration > Authentication and uncheck Allow login as root. Create a dedicated admin user and grant it sudo-equivalent access via Webmin Users. Root credentials should never be used directly for web panel logins.
Go to Webmin Configuration > Two-Factor Authentication, select TOTP, and scan the QR code with Google Authenticator or Authy. Without 2FA, a leaked password is sufficient for full access. With 2FA, an attacker needs both the password and the physical device.
Two layers of IP restriction:
- Webmin-level: Go to Webmin Configuration > IP Access Control and add only your office or VPN IP range.
- Firewall-level (ufw example):
ufw allow from 203.0.113.10 to any port 12321
ufw deny 12321For the highest security, bind Webmin to localhost (bind=127.0.0.1 in miniserv.conf) and access it exclusively via SSH tunnel:
ssh -L 10000:localhost:12321 user@your-serverThen browse to https://localhost:10000.
Every enabled module is an additional attack surface. Navigate to Webmin Configuration > Webmin Modules and uninstall any module you are not actively using — for example, Cluster modules, DHCP server, or Ajaxterm (which was the vector for CVE-2021-31760). Fewer modules means fewer exploitable endpoints.
In Webmin Configuration > Authentication, set a lockout after 5 failed attempts. Pair this with Fail2Ban for network-level blocking. Create /etc/fail2ban/jail.local and add:
[webmin]
enabled = true
port = 12321
filter = webmin
logpath = /var/webmin/miniserv.log
maxretry = 5
bantime = 3600Then: systemctl restart fail2ban
Webmin logs activity to /var/webmin/miniserv.log. Review this regularly for unusual login patterns or unexpected module access. You can tail it in real time:
tail -f /var/webmin/miniserv.logKey things to watch for: repeated failed logins from a single IP, logins at unusual hours, and successful logins followed immediately by file manager access or shell commands.
Webmin has a long CVE history. Staying current is non-negotiable:
# Debian/Ubuntu
apt update && apt upgrade webmin
# RHEL/CentOS
yum update webminEnable unattended-upgrades (Debian) or dnf-automatic (RHEL) to ensure security patches are applied without manual intervention. Many of the most severe Webmin exploits were patched quickly — the victims were running months-old versions.
Step 10: Put Webmin Behind a VPN or Cloudflare Tunnel
For the highest security posture, Webmin should not be accessible from the public internet at all. Two practical options:
- VPN (WireGuard or OpenVPN): Deploy a VPN server on the same host or on a separate jump server. Bind Webmin to the VPN interface only. Access requires both VPN authentication and Webmin credentials + 2FA.
- Cloudflare Tunnel (cloudflared): Run
cloudflared tunnelon the server and expose Webmin exclusively through Cloudflare Access with identity provider authentication. No port exposure to the internet, DDoS protection included, and full access logs in the Cloudflare dashboard.
Either approach eliminates internet-facing exposure entirely. The SSH tunnel method from Step 5 is the zero-infrastructure alternative if VPN or Cloudflare setup is not feasible.
Webmin Security Hardening Checklist
- ✅ Default port 10000 changed
- ✅ Valid SSL certificate (not self-signed)
- ✅ Direct root login disabled
- ✅ Two-factor authentication enabled
- ✅ IP access control configured (Webmin-level + firewall)
- ✅ Unused modules removed
- ✅ Login rate-limiting and Fail2Ban active
- ✅ Log monitoring in place
- ✅ Automatic updates configured
- ✅ VPN or Cloudflare Tunnel for network-layer isolation
Webmin hardening is not a one-time task. Review the checklist after every major Webmin upgrade and after any server configuration change that affects access controls. If managing multiple Webmin instances across a hosting fleet is becoming a time burden, CloudHouse's server hardening service covers Webmin, CSF, Fail2Ban, and full CIS-benchmark-aligned hardening across all your servers.