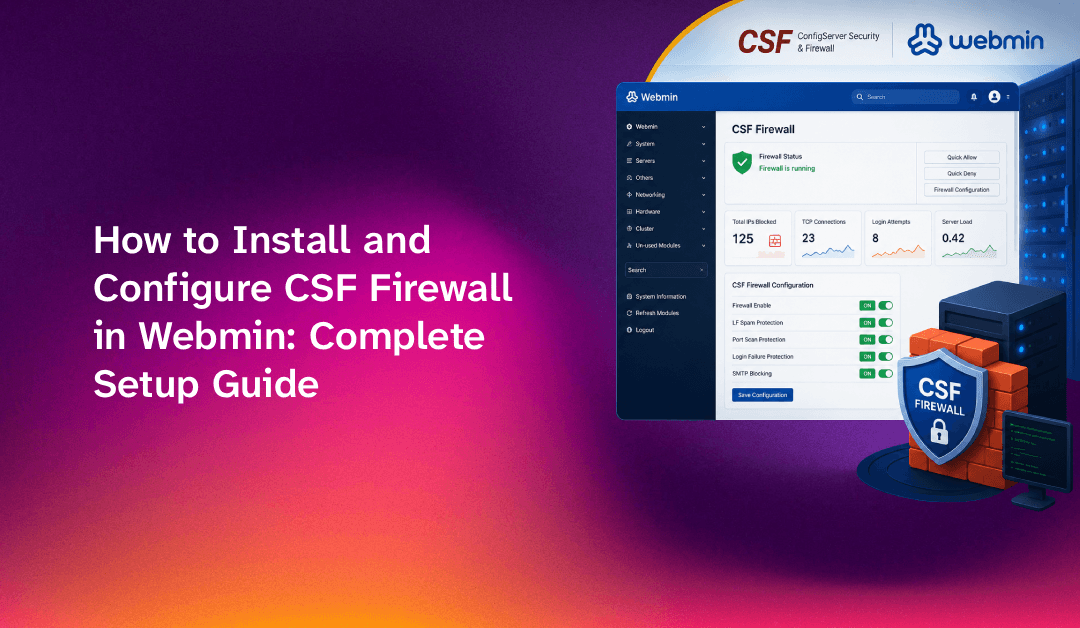
If you're managing a Linux server with Webmin, installing CSF (ConfigServer Security & Firewall) is one of the most impactful security decisions you can make. CSF gives you a fully featured stateful packet inspection (SPI) firewall, brute-force login detection via the Login Failure Daemon (LFD), and an intuitive Webmin module — so you can manage all firewall rules from a single GUI without touching the command line every time. This guide covers the complete webmin csf firewall setup: installation, Webmin module integration, rule configuration, LFD tuning, and ongoing monitoring.
What is CSF Firewall and Why Use It with Webmin
ConfigServer Security & Firewall (CSF) is a free, open-source firewall application suite for Linux built on top of iptables (and nftables on modern kernels). It ships bundled with two complementary tools:
- CSF — the core stateful packet inspection firewall that controls which traffic is allowed in and out of your server on a per-port, per-protocol, and per-IP basis.
- LFD (Login Failure Daemon) — a background process that continuously tails your auth logs and automatically blocks IPs that exceed configurable brute-force thresholds on SSH, FTP, mail, and web applications.
Without CSF, Webmin's built-in Linux Firewall module only exposes raw iptables rules — powerful, but error-prone and difficult to audit. CSF replaces that with a purpose-built ruleset, pre-defined port templates, real-time block/unblock controls, country-level access restrictions, and an intrusion detection engine — all accessible through a polished Webmin interface. For any sysadmin at a web hosting company, this combination dramatically reduces the attack surface without requiring deep firewall expertise for day-to-day operations.
Prerequisites Before Installing CSF
Before you start, confirm the following on your Linux server:
- Operating System: Ubuntu 20.04/22.04/24.04, Debian 11/12, AlmaLinux/Rocky Linux 8/9, or CentOS 7/8. CSF supports all major distributions.
- Webmin installed and running: CSF's Webmin module is installed into an existing Webmin instance. Verify with
systemctl status webmin. - Root or sudo access: All installation commands require root.
- Perl installed: CSF uses Perl for its daemon and checking scripts. Install with
apt install perl(Debian/Ubuntu) ordnf install perl(RHEL/AlmaLinux). - iptables available: On RHEL 9 / AlmaLinux 9, CSF uses
iptables-nft(iptables interface over nftables). Install if missing:dnf install iptables-services. - Your own IP address whitelisted: Before disabling testing mode, always add your own IP to the allow list so you cannot lock yourself out.
Check Perl modules CSF needs with this built-in script (run after install):
perl /usr/local/csf/bin/csftest.plAny "FATAL" entries must be resolved before CSF can run correctly.
💡 None of these worked? Skip the guesswork.
Get Expert Help →Step-by-Step: Installing CSF on Your Linux Server
Navigate to a working directory and download the latest CSF tarball directly from ConfigServer:
cd /usr/local/src
curl -O https://download.configserver.com/csf.tgz
tar -xzf csf.tgz
cd csfExecute the install script with root privileges. It will copy binaries, create config files under /etc/csf/, and register CSF and LFD as systemd services:
sudo ./install.shTypical output confirms service creation:
Installation Completed
csf and lfd have been installedRun the built-in check to ensure all required modules are present:
perl /usr/local/csf/bin/csftest.plExpected output shows all PASS entries. Install any missing modules with cpan <ModuleName> or the distro package manager.
Add your management IP to the permanent allow list:
csf -a YOUR.IP.ADDRESS "My management IP"This inserts your IP into /etc/csf/csf.allow — it will survive restarts and rule reloads.
Open /etc/csf/csf.conf in your editor. Key settings to configure before going live:
# Disable testing mode (REQUIRED before going live)
TESTING = "0"

# Inbound TCP ports to allow (adjust for your services)
TCP_IN = "20,21,22,25,53,80,110,143,443,465,587,993,995,2222,10000"

# Outbound TCP ports
TCP_OUT = "20,21,22,25,53,80,110,113,443,587,993,995"

# Inbound UDP ports
UDP_IN = "20,21,53"

# Outbound UDP ports
UDP_OUT = "20,21,53,113,123"

# Enable IPv6 support
IPV6 = "1"
Port 10000 is Webmin's default port — ensure it is in TCP_IN or you will lose Webmin access after enabling CSF.
csf -e
systemctl enable --now lfd
csf -l # list active rules to verifyIn your browser, go to: Webmin → Webmin Configuration → Webmin Modules.
Choose the "From local file" option and enter the path:
/usr/local/csf/csfwebmin.tgzClick Install Module. Webmin will unpack and register the CSF module automatically.
After installation, navigate to Webmin → System → ConfigServer Security & Firewall. You will see the CSF dashboard with tabs for:
- Firewall Configuration — Edit all
csf.confsettings from the GUI - Firewall Allow/Deny IPs — Add or remove IPs from the allow/deny lists
- Temporary Allow/Deny — Time-limited IP blocks (useful for incident response)
- View Firewall Rules — Live dump of active iptables rules
- LFD Log — Real-time intrusion detection log
Note for Authentic Theme users: If you are running Webmin's Authentic Theme 18.10, remove csf.min.js from the CSF module directory to avoid a known JavaScript conflict:
rm /usr/libexec/webmin/ConfigServer/csf.min.jsConfiguring CSF Rules and Policies in Webmin
The Webmin CSF module exposes every configuration directive from csf.conf through labeled input fields. Here are the most important policy areas to configure after installation:
Port Management
Under Firewall Configuration → IPv4 Port Settings, set your allowed TCP/UDP inbound and outbound ports. For a typical web hosting server:
TCP_IN:  22,25,53,80,110,143,443,465,587,993,995,10000
TCP_OUT: 22,25,53,80,110,443,587
UDP_IN:  53
UDP_OUT: 53,123
Click Change then Restart csf+lfd to apply.
IP Allow and Deny Lists
Use the Firewall Allow/Deny IPs tab to manage persistent allow and block entries:
- csf.allow: IPs always permitted regardless of other rules (your office IP, monitoring services)
- csf.deny: IPs permanently blocked
- csf.ignore: IPs LFD will never block, even if they trigger brute-force thresholds
Country Blocking (CC_DENY / CC_ALLOW)
CSF integrates with MaxMind's GeoIP database to block or whitelist entire countries. In Firewall Configuration → Country Code Lists and Settings:
# Block specific country codes
CC_DENY = "CN,RU,KP"

# Or whitelist only specific countries
CC_ALLOW = "IN,US,GB"
CC_ALLOW_PORTS_TCP = "22"   # restrict SSH to allowed countries only
This is one of CSF's most powerful features for reducing automated attack traffic — a capability most basic firewall setups lack entirely.
SYN Flood Protection
SYNFLOOD = "1"
SYNFLOOD_RATE = "100/s"
SYNFLOOD_BURST = "150"
Port Scan Detection
PS_INTERVAL = "300"
PS_LIMIT = "10"
PS_BLOCK_TIME = "3600"
Monitoring and Maintaining CSF: Real-Time Intrusion Detection
Configuring LFD (Login Failure Daemon)
LFD monitors authentication logs across SSH, FTP, SMTP, cPanel/Webmin, and more. Key LFD settings in csf.conf:
# SSH brute force: block after 5 failures in 3600 seconds
LF_SSHD = "5"
LF_SSHD_PERM = "1"   # permanent block (not temp)

# POP3/IMAP brute force
LF_POP3D = "10"
LF_IMAPD = "10"

# Webmin login failures
LF_WEBMIN = "5"
LF_WEBMIN_PERM = "1"

# FTP brute force
LF_FTPD = "10"

# Duration of temporary blocks (seconds)
LF_TRIGGER_PERM = "1"   # 1 = permanent blocks

# Email alert on block
LF_EMAIL_ALERT = "1"
LF_ALERT_TO = "admin@yourdomain.com"
Viewing Blocked IPs in Real Time
From the Webmin CSF module, click LFD Log to tail the log in real time. Alternatively from the command line:
# View current blocked IPs
csf -l | grep DROP

# Check LFD log directly
tail -f /var/log/lfd.log

# Unblock a specific IP
csf -dr 192.168.1.100

# Temporarily allow an IP for 3600 seconds
csf -ta 192.168.1.100 3600 "Temporary support access"
CSF Process Tracking (PT)
Enable process tracking to detect suspicious processes and scripts consuming excessive resources:
PT_USERMEM = "200"       # alert if process uses more than 200 MB
PT_USERTIME = "1800"     # alert if process runs for 30+ minutes
PT_LIMIT = "60"          # check interval in seconds
PT_SKIP_HTTP = "1"       # skip Apache/Nginx processes
Regular Maintenance Tasks
- Update CSF: CSF updates via the Webmin module (CSF → Check for Update) or command line:
csf -u - Flush temp blocks:
csf -tf— clears all temporary IP blocks - Reload rules:
csf -r— reload without full restart - Test email alerts: Trigger a test block and verify
LF_ALERT_TOreceives the email - Review LFD log weekly: Look for recurring IPs that should be permanently blocked
If you're managing multiple servers with CSF or need help tuning LFD thresholds to reduce false positives, our managed server management team can audit and configure CSF across your entire fleet — including GeoIP country blocking, custom port profiles, and intrusion detection tuning.
FAQs
Does CSF replace iptables or work alongside it?
CSF uses iptables (or iptables-nft on RHEL 9/AlmaLinux 9) as its underlying packet filtering mechanism — it does not replace iptables, it manages it. When you run csf -r or restart via Webmin, CSF flushes and rewrites the iptables chain rules based on your configuration. You should not manually edit iptables rules alongside CSF as CSF will overwrite them on restart.
What is the difference between csf.allow and csf.ignore?
csf.allow adds IPs to the iptables ACCEPT chain — the IP is explicitly permitted regardless of block rules. csf.ignore tells the LFD daemon to never auto-block that IP based on login failures — but the IP is not explicitly allowed through firewall rules. For management IPs you want to always reach your server, add to csf.allow. For trusted services that may generate many log entries (monitoring agents, backup services), add to csf.ignore.
How do I recover if I accidentally lock myself out after enabling CSF?
Access your server via your hosting provider's out-of-band console (KVM, VNC, IPMI, or cloud provider console). Then run csf -x to disable CSF temporarily, whitelist your IP with csf -a YOUR.IP.ADDRESS, and re-enable with csf -e. If LFD blocked you, also run csf -dr YOUR.IP.ADDRESS to remove the block. Set TESTING = "1" temporarily while you sort out your rules.
How do I enable country blocking in CSF Webmin?
First install the MaxMind GeoIP database: csf --update-geoip from the command line, or use the Country Code Lists section in the Webmin CSF module to trigger the download. Then set CC_DENY to a comma-separated list of ISO country codes (e.g., CN,RU,KP,NG) and optionally set CC_ALLOW to restrict access only to your allowed countries. Restart CSF after changes.
Is CSF compatible with Ubuntu 24.04 and AlmaLinux 9?
Yes. On Ubuntu 24.04 and AlmaLinux 9 (RHEL 9 derivatives), CSF uses iptables-nft — an iptables-compatible frontend that translates to nftables rules under the hood. Install iptables on AlmaLinux 9 with dnf install iptables-services if needed. Run perl /usr/local/csf/bin/csftest.pl after installation to verify all dependencies pass on your specific distribution.