
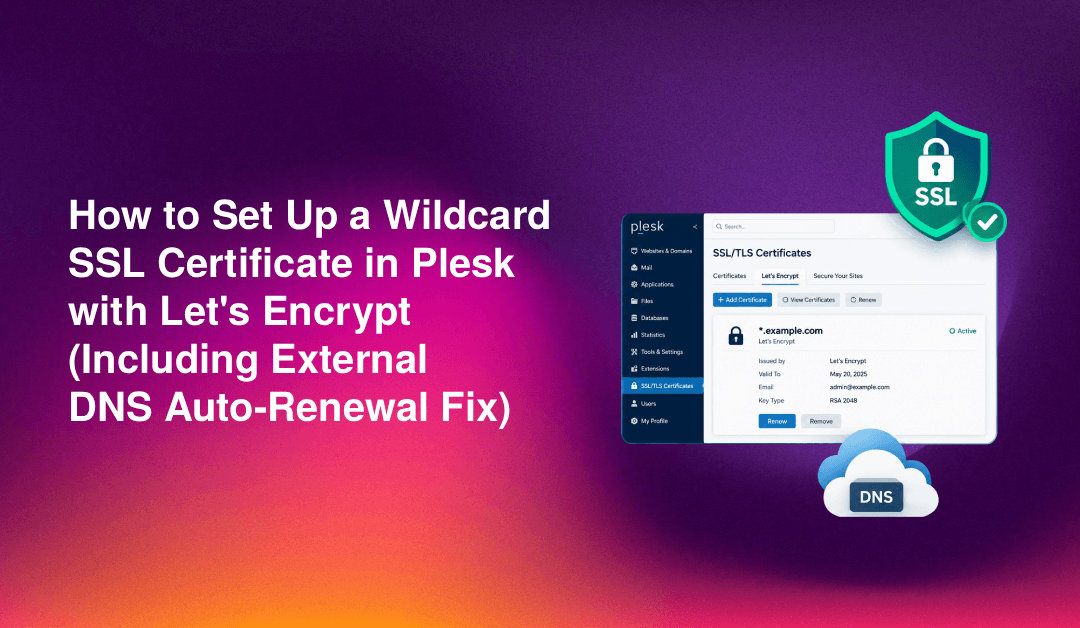
A Plesk wildcard SSL certificate is one of the most efficient ways to secure all your subdomains under a single certificate — but setting one up with Let's Encrypt, especially when your DNS is managed externally, is a process riddled with silent failure points. Many server administrators only discover their wildcard cert has expired when users start seeing browser security warnings across every subdomain at once. This guide walks you through both setup methods — Plesk-managed DNS and external DNS (Cloudflare, Route 53) — and explains exactly how to configure auto-renewal so it never silently fails again.
What Is a Wildcard SSL Certificate and When Do You Need One
A wildcard SSL certificate covers a domain and all of its first-level subdomains using a single certificate. For example, a wildcard certificate issued for *.example.com would secure app.example.com, api.example.com, staging.example.com, and any other subdomain — without needing a separate certificate for each.
You need a wildcard certificate when:
- You run multiple subdomains on a single server and want unified SSL management
- You frequently create new subdomains and don't want to issue new certificates each time
- You want to reduce certificate renewal overhead across dozens of domains
- You're hosting client sites under subdomains and need a scalable SSL strategy
The critical limitation is that Let's Encrypt requires DNS-01 challenge validation for wildcard certificates. When your DNS is managed externally (outside Plesk), this process cannot happen automatically without additional configuration — which is the root cause of most silent renewal failures.
Prerequisites Before You Start
- Plesk Obsidian 18.0 or later — wildcard SSL via Let's Encrypt requires a modern Plesk version
- Let's Encrypt extension installed — go to Plesk > Extensions > Extensions Catalog and install or update it
- DNS credentials ready — Cloudflare API Token or AWS IAM credentials with Route 53 write access
- Root or reseller-level Plesk access
💡 None of these worked? Skip the guesswork.
Get Expert Help →Method 1: Issue a Wildcard Certificate via Let's Encrypt in Plesk (Plesk-Managed DNS)
If DNS is managed inside Plesk, this is the straightforward path. Plesk handles the DNS-01 challenge automatically.
Go to Domains > your-domain.com > SSL/TLS Certificates. Click Get it free under Let's Encrypt.
Check the box labeled "Wildcard domain" or "Secure the wildcard domain (*.example.com)".
Plesk automatically selects DNS-01 for wildcard certificates. Since DNS is managed in Plesk, the TXT record is added automatically.
Click Get it free. Plesk communicates with Let's Encrypt, adds the _acme-challenge.example.com TXT record, validates it, and retrieves the certificate. This typically takes 30–90 seconds.
Auto-renewal is enabled by default in this method — Plesk schedules renewal and handles the DNS challenge automatically each cycle.
2. Install the Cloudflare DNS Plugin
sudo apt install python3-certbot-dns-cloudflare -ysudo mkdir -p /root/.secrets/certbot
sudo nano /root/.secrets/certbot/cloudflare.inidns_cloudflare_api_token = YOUR_CLOUDFLARE_API_TOKEN_HEREsudo chmod 600 /root/.secrets/certbot/cloudflare.inisudo certbot certonly --dns-cloudflare --dns-cloudflare-credentials /root/.secrets/certbot/cloudflare.ini --dns-cloudflare-propagation-seconds 60 -d example.com -d "*.example.com" --email admin@example.com --agree-tos --non-interactiveOption C: Automated DNS Challenge via AWS Route 53
sudo apt install python3-certbot-dns-route53 -y
sudo pip3 install boto3
Configure credentials at /root/.aws/credentials:
[default]
aws_access_key_id = YOUR_ACCESS_KEY_ID
aws_secret_access_key = YOUR_SECRET_ACCESS_KEY
The IAM user needs route53:ChangeResourceRecordSets and route53:ListHostedZones permissions.
sudo certbot certonly --dns-route53 -d example.com -d "*.example.com" --email admin@example.com --agree-tos --non-interactiveGo to Plesk > Domains > your-domain.com > SSL/TLS Certificates. Click Add SSL/TLS Certificate, name it wildcard-example-com, and paste the contents of:
- Certificate:
/etc/letsencrypt/live/example.com/cert.pem - Private Key:
/etc/letsencrypt/live/example.com/privkey.pem - CA Certificate:
/etc/letsencrypt/live/example.com/chain.pem
Click Upload Certificate.
Go to Domains > your-domain.com > Hosting Settings. Under Security, select the wildcard certificate from the dropdown and click OK.
For each subdomain, go to Domains > subdomain.example.com > Hosting Settings and select the same wildcard certificate.
Enable Permanent SEO-safe 301 redirect from HTTP to HTTPS in Hosting Settings for both root domain and each subdomain.
sudo systemctl status certbot.timerIf not active:
sudo systemctl enable certbot.timer
sudo systemctl start certbot.timersudo certbot renew --dry-runThis is the critical step most guides skip. After certbot renews, Plesk still holds the old certificate — you need a hook to update Plesk automatically.
sudo nano /etc/letsencrypt/renewal-hooks/deploy/plesk-update.sh#!/bin/bash
DOMAIN="example.com"
CERT_DIR="/etc/letsencrypt/live/$DOMAIN"
plesk bin certificate --update "wildcard-example-com" -domain "$DOMAIN" -file-cert "$CERT_DIR/cert.pem" -file-pkey "$CERT_DIR/privkey.pem" -file-cacert "$CERT_DIR/chain.pem"
plesk bin server_pref --update -apache-restart yes
service nginx reload 2>/dev/null || truesudo chmod +x /etc/letsencrypt/renewal-hooks/deploy/plesk-update.sh0 3 * * 1 certbot renew --quiet && /etc/letsencrypt/renewal-hooks/deploy/plesk-update.shIf you're spending hours diagnosing SSL renewal failures across multiple subdomains, consider managed Plesk server support to have experts handle certificate lifecycle management.
Troubleshooting Common Wildcard SSL Errors in Plesk
Challenge failed for _acme-challenge.example.com
- Verify API token has write permissions to the DNS zone
- Increase
--dns-cloudflare-propagation-secondsto at least 60 - Test DNS propagation:
dig TXT _acme-challenge.example.com @8.8.8.8
Certificate expired on subdomains after 90 days
Root causes: the deploy hook failed so Plesk kept serving the old cert; the certbot timer was disabled after a system update; or API credentials were rotated without updating the credentials file.
Run sudo certbot renew --force-renewal and check /var/log/letsencrypt/letsencrypt.log.
Wildcard option not available in Plesk Let's Encrypt GUI
Update the Let's Encrypt extension via Extensions > My Extensions > Let's Encrypt > Update. Confirm Plesk version is Obsidian 18.0.29 or later.
SSL certificate does not match after applying wildcard cert
Wildcard certificates only cover one level deep. *.example.com does NOT cover app.sub.example.com. Issue a separate certificate for deeper subdomains.
certbot renew succeeds but Plesk still shows old cert
Check hook permissions (chmod +x), verify the hook path, and check /var/log/letsencrypt/letsencrypt.log after a forced renewal.
Managing wildcard SSL certificates in Plesk — particularly when DNS is external — requires careful coordination between Let's Encrypt's DNS-01 validation, your DNS provider's API, and Plesk's internal certificate store. The setup in this guide ensures that issuance, application, and auto-renewal all work together without silent failures. For teams managing multiple servers or client environments, CloudHouse Technologies offers comprehensive managed Plesk server support built around zero-downtime operations.