Why Is Linux Mint Showing the Wrong Screen Resolution?
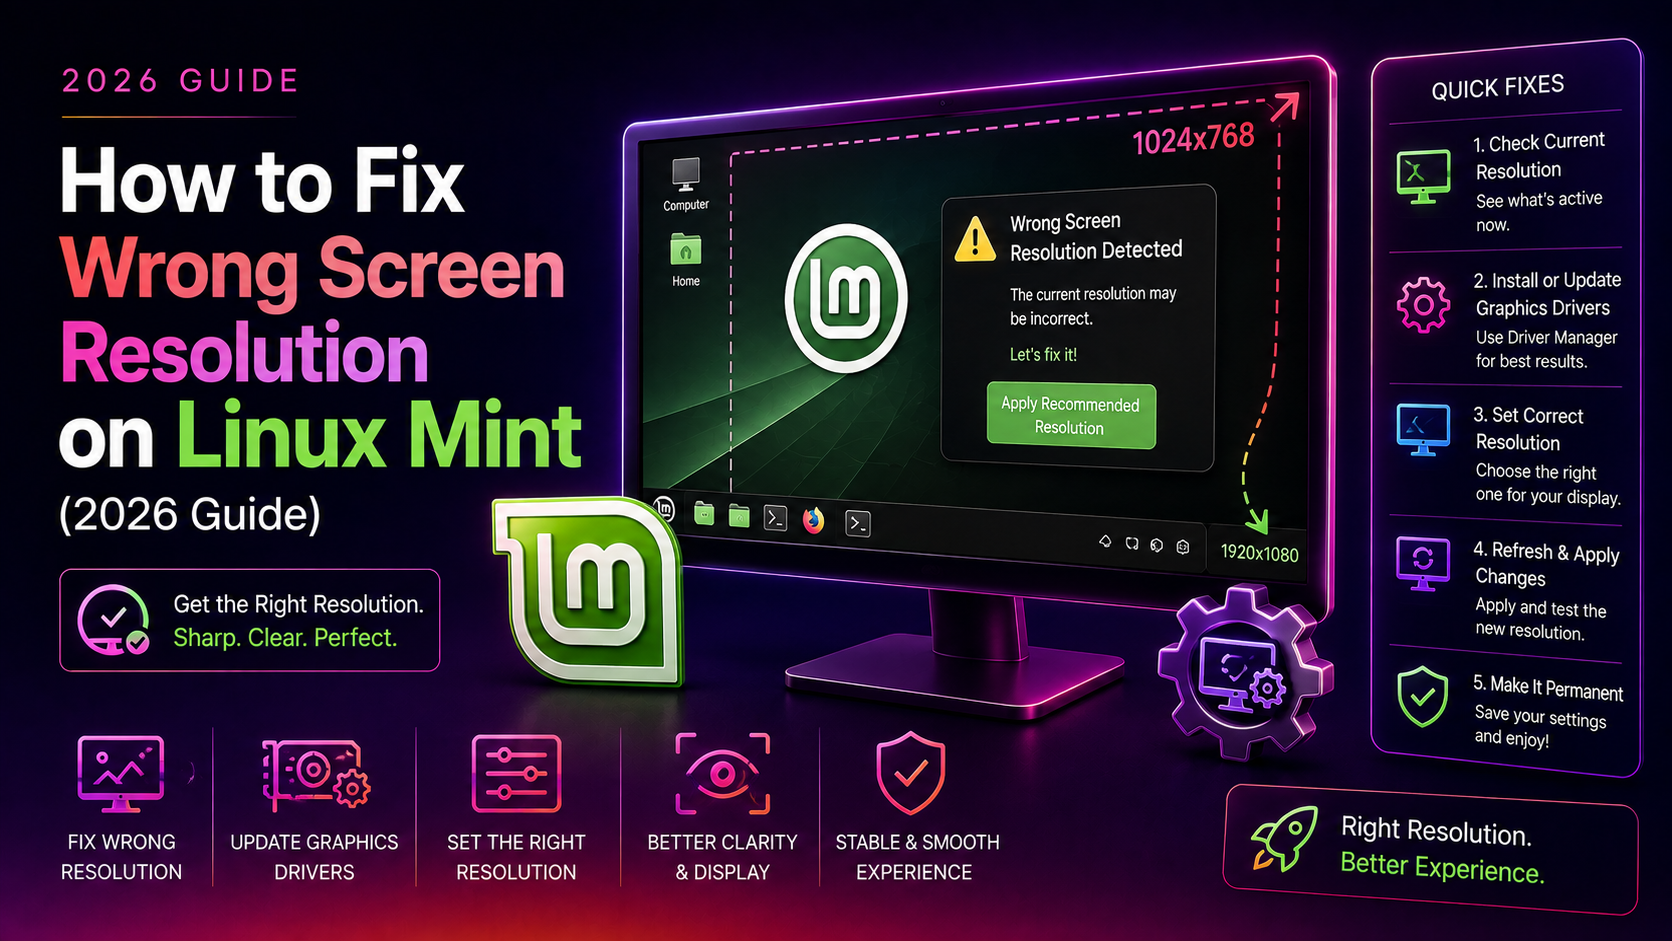
One of the most frustrating issues Linux Mint users encounter — especially after a fresh install, kernel update, or adding a new monitor — is the desktop being stuck at the wrong screen resolution. Instead of your native 1920×1080 or 2560×1440, you're left squinting at a blurry 1024×768 or 800×600 that stretches everything out of proportion.
This happens because Linux Mint cannot always auto-detect monitor capabilities through EDID (Extended Display Identification Data), or because the installed graphics driver does not expose the full list of supported modes. The good news: every case is fixable with the right tools. This guide covers all GPU types — Intel, AMD, and NVIDIA — and makes your resolution stick permanently.
Step 1: Check Your Current Display and Available Resolutions
Open a terminal (Ctrl + Alt + T) and run:
xrandrThis lists every connected output (e.g., HDMI-1, eDP-1, DP-1) along with the resolutions Linux Mint currently knows about. The active resolution is marked with an asterisk (*). If your native resolution is missing from the list, you need to create a custom mode — see Step 3.
Also note the exact output name. You will need it in later commands.
Step 2: Try the Display Settings GUI First
Before using the terminal, check the GUI:
- Open System Settings → Display.
- Select your monitor from the list.
- Click the Resolution drop-down and pick your native resolution.
- Click Apply, then Keep this configuration.
If your target resolution does not appear in the drop-down, the driver cannot detect it automatically. Continue to Step 3.
Step 3: Add a Custom Resolution with xrandr and cvt (Intel / AMD / Open-Source Drivers)
This method works for Intel integrated graphics and AMD cards using the open-source amdgpu or radeon drivers.
3.1 — Generate the modeline:
cvt 1920 1080 60Replace 1920 1080 60 with your target width, height, and refresh rate. The output looks like:
# 1920x1080 59.96 Hz (CVT 2.07M9) hsync: 67.16 kHz; pclk: 173.00 MHz
Modeline "1920x1080_60.00"  173.00  1920 2048 2248 2576  1080 1083 1088 1120 -hsync +vsync
3.2 — Create the new mode (copy the modeline exactly from your output):
xrandr --newmode "1920x1080_60.00" 173.00 1920 2048 2248 2576 1080 1083 1088 1120 -hsync +vsync3.3 — Add the mode to your output:
xrandr --addmode HDMI-1 "1920x1080_60.00"Replace HDMI-1 with your actual output name from Step 1.
3.4 — Switch to the new resolution:
xrandr --output HDMI-1 --mode "1920x1080_60.00"Your screen should immediately switch to the correct resolution. This change is temporary — it resets on reboot. See Step 5 to make it permanent.
Step 4: Fix Resolution on NVIDIA Cards
If you are using the proprietary NVIDIA driver (nvidia-driver-535 or newer), xrandr --newmode is blocked. Use the NVIDIA Settings tool instead.
4.1 — Open NVIDIA X Server Settings:
sudo nvidia-settings4.2 — Navigate to: X Server Display Configuration → Resolution
Select your target resolution from the drop-down and click Apply. If the resolution still doesn't appear:
4.3 — Force NVIDIA to re-read the EDID:
sudo nvidia-settings --assign CurrentMetaMode="nvidia-auto-select +0+0 { ForceFullCompositionPipeline = On }"4.4 — Save to X config:
In NVIDIA Settings, click Save to X Configuration File → save to /etc/X11/xorg.conf. Reboot and verify.
If you recently updated your kernel and the NVIDIA driver broke, reinstall it:
sudo apt install --reinstall nvidia-driver-535Then reboot.
Step 5: Make the Custom Resolution Permanent
There are two reliable ways to persist a custom xrandr resolution across reboots.
Method A — Autostart Script (Cinnamon / XFCE / MATE)
Create a startup script:
nano ~/.config/autostart/fix-resolution.desktopPaste:
[Desktop Entry]
Type=Application
Name=Fix Resolution
Exec=sh -c "sleep 3 && xrandr --newmode '1920x1080_60.00' 173.00 1920 2048 2248 2576 1080 1083 1088 1120 -hsync +vsync; xrandr --addmode HDMI-1 '1920x1080_60.00'; xrandr --output HDMI-1 --mode '1920x1080_60.00'"
Hidden=false
NoDisplay=false
X-GNOME-Autostart-enabled=true
Save and close. The sleep 3 ensures the display server is ready before the commands run.
Method B — /etc/X11/xorg.conf.d/ (All Desktop Environments)
Create a custom mode configuration file:
sudo nano /etc/X11/xorg.conf.d/10-monitor.confPaste (adjust modeline values from your cvt output):
Section "Monitor"
    Identifier "HDMI-1"
    Modeline "1920x1080_60.00"  173.00  1920 2048 2248 2576  1080 1083 1088 1120 -hsync +vsync
    Option "PreferredMode" "1920x1080_60.00"
EndSection

Section "Screen"
    Identifier "Screen0"
    Monitor "HDMI-1"
    DefaultDepth 24
    SubSection "Display"
        Modes "1920x1080_60.00"
    EndSubSection
EndSection
Save, then reboot:
sudo rebootStep 6: Fix Resolution on the Login Screen (LightDM / MDM)
Sometimes the desktop resolution is correct after login, but the login screen itself is still at the wrong resolution. Fix this by applying the xrandr command to the display manager's session.
Create a display setup script:
sudo nano /etc/lightdm/display-setup-script.shAdd:
#!/bin/bash
xrandr --newmode "1920x1080_60.00"  173.00  1920 2048 2248 2576  1080 1083 1088 1120 -hsync +vsync
xrandr --addmode HDMI-1 "1920x1080_60.00"
xrandr --output HDMI-1 --mode "1920x1080_60.00"
Make it executable:
sudo chmod +x /etc/lightdm/display-setup-script.shThen reference it in LightDM config:
sudo nano /etc/lightdm/lightdm.confUnder [Seat:*], add:
display-setup-script=/etc/lightdm/display-setup-script.shRestart LightDM:
sudo systemctl restart lightdmStep 7: Install or Update Graphics Drivers
If none of the above works, your driver may simply not support your monitor's resolution. Open the Driver Manager:
Menu → Administration → Driver ManagerInstall the recommended driver for your GPU. For NVIDIA, prefer the latest tested proprietary driver (e.g., nvidia-driver-550). For AMD Radeon RX 6000/7000 series, the open-source amdgpu driver in the Linux 6.x kernel handles most resolutions natively.
After installing a new driver, reboot and check Display Settings again.
Step 8: Check for HiDPI / Fractional Scaling Issues
On Linux Mint 21.x and 22.x with 4K monitors, the resolution may appear correct but text and UI elements look too small or too large. This is a scaling issue, not a resolution issue.
Enable fractional scaling in Cinnamon:
- Open System Settings → Display.
- Click the Settings tab.
- Enable Fractional Scaling.
- Return to the Layout tab and set your preferred scale (125%, 150%, 175%, or 200%).
Still Stuck? Get Expert Help
If your screen is still showing the wrong resolution after all these steps — especially after a kernel update or GPU swap — the issue may be hardware-level EDID corruption or a deeper driver conflict. CloudHouse Technologies Pay-Per-Ticket Support provides remote Linux desktop troubleshooting with no subscription needed. A technician connects to your machine, diagnoses the exact driver/display stack issue, and applies a permanent fix in one session.
Frequently Asked Questions
Why does Linux Mint not show my monitor's native resolution?
Linux Mint relies on EDID data from the monitor to discover available resolutions. If the EDID is missing, corrupted, or the driver cannot read it (common with KVM switches, HDMI adapters, and older cables), the OS falls back to a generic low-resolution mode. Adding a custom resolution with cvt and xrandr bypasses this limitation entirely.
Will xrandr --newmode work with NVIDIA proprietary drivers?
No. The proprietary NVIDIA driver blocks custom modeline injection via xrandr. Use sudo nvidia-settings to configure resolution, and save the result to /etc/X11/xorg.conf. Alternatively, switch to the open-source nouveau driver where xrandr works freely, though 3D performance will be reduced.
My resolution resets after every reboot — how do I make it permanent?
Use the autostart .desktop file method (Step 5A) for a per-user fix, or create /etc/X11/xorg.conf.d/10-monitor.conf (Step 5B) for a system-wide permanent fix. The xorg.conf.d method survives user account changes and is the most robust option.
How do I fix the wrong resolution on a second monitor only?
Run xrandr to identify the second monitor's output name (e.g., HDMI-2 or DP-2). Then follow Steps 3–5 using that output name instead of HDMI-1. Each connected display is handled independently by xrandr.
Does this work on Linux Mint 22 (Virginia) with Wayland?
Linux Mint 22 still uses X11 (Xorg) by default — Wayland is not the default session. All xrandr commands in this guide apply. If you have manually switched to a Wayland session, use wlr-randr (for wlroots compositors) instead of xrandr.