
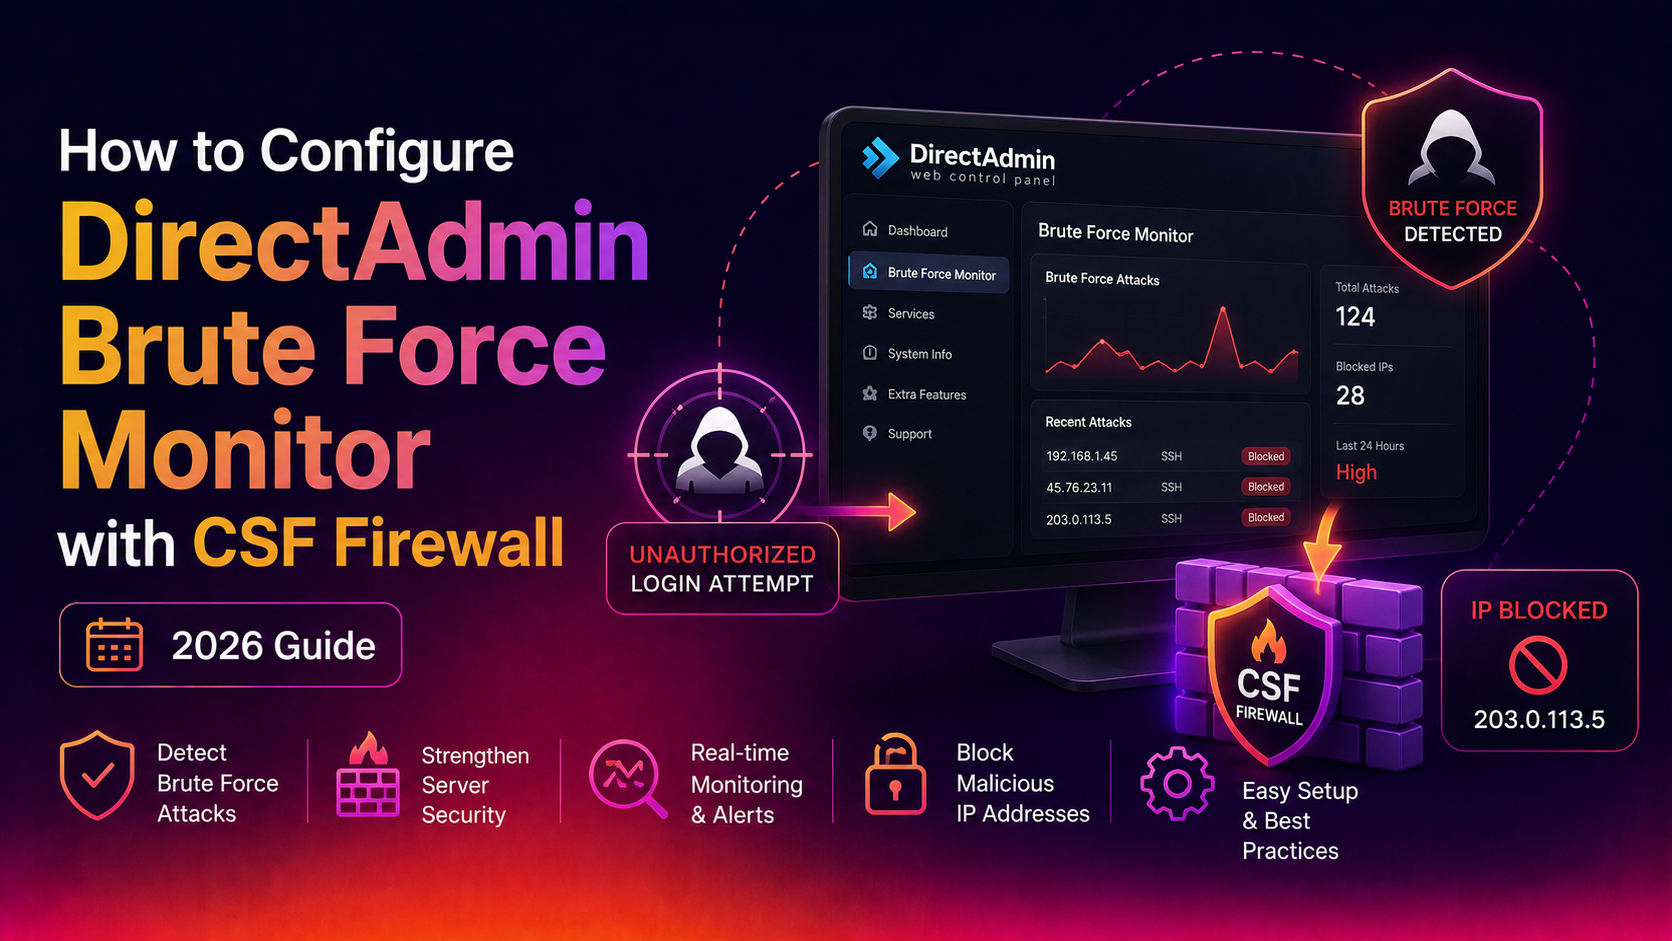
Brute force attacks against SSH, FTP, email, and control panel login pages are among the most persistent threats to any hosted server. DirectAdmin's built-in Brute Force Monitor (BFM) detects repeated failed login attempts and blocks offending IPs — but when paired with ConfigServer Security & Firewall (CSF), the protection becomes far more robust and automated. This guide walks through configuring DirectAdmin Brute Force Monitor with CSF firewall from scratch on a 2026 server build.
What Is DirectAdmin Brute Force Monitor?
Brute Force Monitor is a daemon built into DirectAdmin that monitors log files for repeated authentication failures. When a configured threshold is reached (e.g., 5 failed SSH logins in 60 seconds), BFM writes the offending IP to a block list — either DirectAdmin's internal IP blocker or, preferably, CSF/LFD for system-level blocking.
BFM monitors these services by default:
- SSH login failures (
/var/log/secureor/var/log/auth.log) - FTP login failures (ProFTPd, Pure-FTPd)
- POP3/IMAP failures (Dovecot)
- SMTP authentication failures (Exim)
- DirectAdmin admin/user panel login failures
- phpMyAdmin login failures (if configured)
Why use CSF instead of BFM's built-in blocker? CSF blocks at the kernel/iptables level, making blocks far harder to bypass, and includes LFD (Login Failure Daemon) for persistent, cross-service monitoring. BFM feeding into CSF gives you the best of both: DirectAdmin-aware detection + kernel-level enforcement.
Prerequisites
- DirectAdmin installed (any recent version)
- Root SSH access
- CSF/LFD installed — if not, install it first (covered below)
- OS: AlmaLinux 8/9, CentOS 7/8, Debian 10/11/12, or Ubuntu 20.04/22.04
💡 None of these worked? Skip the guesswork.
Get Expert Help →Step 1 — Install CSF Firewall on DirectAdmin
If CSF is not yet installed, run the following as root:
cd /usr/src
wget https://download.configserver.com/csf.tgz
tar -xzf csf.tgz
cd csf
sh install.shperl /usr/local/csf/bin/csftest.plAll tests should pass. If iptables is missing on newer systems using nftables, install the compatibility layer: yum install iptables-legacy (AlmaLinux/CentOS) or apt install iptables (Debian/Ubuntu).
nano /etc/csf/csf.conf
# Change: TESTING = "1"  →  TESTING = "0"
csf -rLog in to DirectAdmin as admin, go to Admin Level → Brute Force Monitor. Enable the daemon and click Save. Alternatively, enable via the config file:
nano /usr/local/directadmin/conf/directadmin.conf
# Ensure this line exists (add if missing):
brute_force_log_scanner=1
Restart DirectAdmin after any config change:
systemctl restart directadminps aux | grep brute
# Should show: /usr/local/directadmin/scripts/brute_force_monitor.plnano /usr/local/directadmin/conf/brute_force_monitor.confKey settings to review and tune:
# Maximum failed attempts before blocking (default: 5)
max_retries=5

# Time window in seconds (default: 60)
timeframe=60

# Block duration in seconds (default: 3600 = 1 hour)
blocktime=3600

# IP blocklist file (used if NOT routing through CSF)
blockfile=/usr/local/directadmin/data/admin/ip_blacklist

# Use CSF for blocking (set to 1 to enable CSF integration)
use_csf=1
Recommended production thresholds:
max_retries=5— catches real attackers without false-positives for typo-prone userstimeframe=60— 5 failures in 60 seconds is clearly automatedblocktime=86400— 24-hour block is more effective than 1 hour for persistent botnets
# AlmaLinux / CentOS / Rocky Linux:
ssh_log=/var/log/secure

# Debian / Ubuntu:
ssh_log=/var/log/auth.log

# Exim mail log:
exim_log=/var/log/exim/mainlog

# Dovecot log:
dovecot_log=/var/log/dovecot.log
Ensure the paths match your actual log locations: ls -la /var/log/secure /var/log/auth.log 2>/dev/null
which csf
# Should return: /usr/sbin/csf
csf -v# Manually trigger a test block (use a non-critical IP)
/usr/local/directadmin/scripts/brute_force_monitor.pl block 1.2.3.4 "test block"
# Verify the IP was added to CSF deny list:
csf -g 1.2.3.4
# Remove the test block:
csf -dr 1.2.3.4Open /etc/csf/csf.conf and ensure these settings are in place:
# Enable Login Failure Daemon
LF_DAEMON = "1"

# SSH brute force threshold
LF_SSHD = "5"
LF_SSHD_PERM = "1"    # permanent block (not temp)

# SMTP/POP3/IMAP failures
LF_SMTPAUTH = "5"
LF_POP3D = "10"
LF_IMAPD = "10"

# DirectAdmin login failures
LF_DIRECTADMIN = "5"
After editing, reload CSF: csf -r && lfd -r
Step 5 — Configure BFM Whitelist (Prevent Blocking Your Own IPs)
Before enabling live blocking, whitelist all IPs that should never be blocked — your office IP, monitoring servers, backup agents.
# Add to CSF whitelist (kernel-level permanent allow)
csf -a YOUR_OFFICE_IP "Office IP — never block"

# Add to DirectAdmin's BFM whitelist
echo "YOUR_OFFICE_IP" >> /usr/local/directadmin/data/admin/ip_whitelist

# Verify whitelist
cat /usr/local/directadmin/data/admin/ip_whitelist
Critical: If you lock yourself out by accidentally blocking your management IP, connect via your hosting provider's out-of-band console and run csf -dr YOUR_IP to unblock.
Step 6 — Enable Email Alerts for Blocks
Configure CSF to email you when IPs are blocked — especially useful for spotting patterns or persistent attack campaigns.
nano /etc/csf/csf.conf

# Set admin email for alerts
LF_ALERT_TO = "admin@yourdomain.com"
LF_ALERT_FROM = "csf@yourhostname.com"

# Alert on temporary blocks
LF_EMAIL_ALERT = "1"

# Alert on permanent blocks (recommended)
LF_PERMBLOCK_ALERT = "1"
Reload after changes: csf -r
Step 7 — Monitor and Review Blocked IPs
# View currently blocked IPs in CSF
csf -l

# View BFM's internal block log
cat /usr/local/directadmin/data/admin/brute_force_block_log

# View recent CSF LFD log
tail -50 /var/log/lfd.log

# View real-time blocks as they happen
tail -f /var/log/lfd.log | grep "Blocked"

# Check how many IPs are currently blocked
csf -l | wc -l
Review blocked IPs weekly. Legitimate services (search engine crawlers, payment gateway IPs, CDN nodes) occasionally appear on block lists due to shared infrastructure — unblock them and add to the CSF whitelist.
Troubleshooting Common BFM + CSF Issues
- BFM not blocking despite failures: Check that
brute_force_log_scanner=1is indirectadmin.confand the BFM process is running. Verify log file paths match your OS. - CSF blocking too aggressively: Increase
LF_SSHDthreshold or add the aggressive IPs to the whitelist. Consider usingLF_SSHD_PERM = "0"for temporary rather than permanent blocks. - Locked out of server: Use VPS console → run
csf -dr YOUR_IPandcsf -ra(remove all temp blocks) to recover access. - CSF not found by BFM: Confirm
/usr/sbin/csfexists. If CSF is in a different path, create a symlink:ln -s /path/to/csf /usr/sbin/csf - Exim/Dovecot logs not being scanned: Verify log paths in
brute_force_monitor.confmatch actual log locations on your OS.
A properly configured BFM + CSF setup is one of the most effective first lines of defence for DirectAdmin servers. For hosting companies managing dozens of DirectAdmin servers, deploying this configuration consistently across the fleet — and monitoring the block logs centrally — is a significant security operation. CloudHouse Technologies provides expert DirectAdmin server hardening services, including BFM/CSF configuration, security audits, and ongoing threat monitoring.