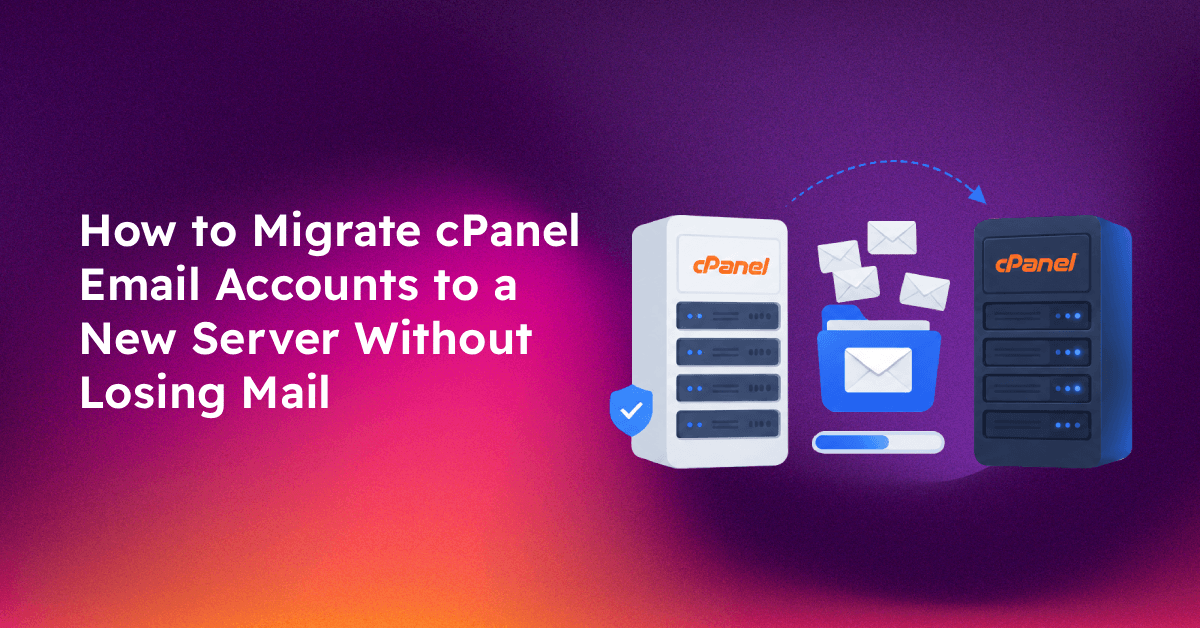
Email migration is one of the most high-stakes parts of moving to a new cPanel server. Unlike website files, email data is fragile — miss a step and clients lose months of archived messages, IMAP folders get out of sync, or the mail queue stops delivering while DNS propagates. Hosting companies that handle this wrong get chargebacks and churned accounts.
This guide covers every step of migrating cPanel email accounts to a new server: inventorying accounts, choosing the right migration method, transferring messages without data loss, and safely cutting over DNS so nothing falls through the cracks.
💡 None of these worked? Skip the guesswork.
Get Expert Help →Before You Start: Pre-Migration Email Audit
Before touching the new server, audit what you're moving:
# Run this on the OLD server as root
for user in $(ls /var/cpanel/users/); do
echo "=== $user ===";
du -sh /home/$user/mail/ 2>/dev/null;
doneIn WHM on the old server: Email → Mail Queue Manager to check for queued messages. Also go to Account Functions → List Accounts and export the list. Note every domain and its associated email accounts.
Check if clients use IMAP (preferred — syncs to server) or POP3 (downloads and deletes — risky during migration). IMAP clients will reconnect to the new server automatically once DNS updates; POP3 clients may have already deleted server copies.
df -h /home # On the new serverYour new server needs at least 1.5× the current email data size to accommodate migration staging.
2. On the new server in WHM: go to Transfers → Transfer Tool
4. Select accounts to transfer — you can select individual accounts or all accounts
5. Under Transfer Options, ensure Mail Data is checked
6. Click Transfer and monitor the transfer log in real time
The WHM Transfer Tool handles everything: email accounts, passwords (in hashed form), Maildir folders, SpamAssassin settings, email filters, and forwarders. After transfer, verify accounts in cPanel → Email → Email Accounts on the new server.
Limitation: This requires root SSH access to both servers. If migrating from a shared host without root access, use Method 2.
Method 2: cPanel Full Backup + Restore
When root-to-root transfer isn't possible, use cPanel's built-in backup system:
1. On the old cPanel account: go to Files → Backup → Download a Full Account Backup
3. On the new server in WHM: go to Account Functions → Restore a Full Backup/cpmove File
This restores all email accounts and Maildir folders. The restore process preserves the exact folder structure including INBOX, Sent, Drafts, Trash, and any custom IMAP folders.
Method 3: imapsync for Selective Email Migration
When you only need to migrate email (not website files), or when migrating from a non-cPanel source, imapsync is the most reliable tool. It connects to both IMAP servers simultaneously and mirrors mailboxes precisely.
Install imapsync on the new server:
# AlmaLinux/Rocky Linux
dnf install perl perl-CPAN -y
cpan Mail::IMAPClient
# Or download direct:
curl -L https://imapsync.lamiral.info/imapsync --output /usr/local/bin/imapsync
chmod +x /usr/local/bin/imapsyncMigrate a single mailbox:
imapsync --host1 old.server.com --user1 user@domain.com --password1 "OldPass" --host2 new.server.com --user2 user@domain.com --password2 "NewPass" --ssl1 --ssl2Migrate all accounts for a domain in a batch script:
#!/bin/bash
# Save email/password pairs in accounts.txt: user@domain.com:password
while IFS=: read -r email pass; do
imapsync --host1 old.server.com --user1 "$email" --password1 "$pass" --host2 new.server.com --user2 "$email" --password2 "$pass" --ssl1 --ssl2 --logfile "/var/log/imapsync_${email}.log"
done < accounts.txtimapsync preserves folder structure, message flags (read/unread, starred), and message dates. Run it twice: once before DNS cutover to sync the bulk of messages, and once right after cutover to catch any messages that arrived during the switch.
At least 24 hours before switching, reduce the MX record TTL to 300 seconds (5 minutes). This means DNS changes propagate in minutes instead of hours when you cut over.
Before pointing MX records to the new server, configure SPF, DKIM, and DMARC:
- In cPanel: Email → Email Deliverability → Repair — this auto-generates the correct SPF and DKIM records
- Add the generated DNS records to your domain's DNS zone
- Verify with:
dig TXT yourdomain.com | grep spf
4. Update MX records to point to the new server
In your DNS provider, change the MX record from the old server's IP to the new server's hostname (e.g. mail.newserver.com). With TTL at 300, propagation takes 5-10 minutes.
# Check incoming mail is arriving
tail -f /var/log/exim_mainlog | grep "<=.*@yourdomain.com"
# Check mail queue
exim -bpc # Count queued messages
exim -bp # List queued messagesAdd the old server as a secondary MX with a higher priority number (e.g. priority 20 vs. new server at 10). If anything fails on the new server during cutover, mail falls back to the old server and queues there safely.
Post-Migration Verification Checklist
After completing the migration, verify everything before telling clients:
- Send a test email to each migrated domain from an external address (Gmail, Outlook) — confirm it arrives in the correct inbox
- Check spam scores on the new server:
spamassassin -t < /tmp/test.eml - Verify IMAP clients reconnect — clients using IMAP will automatically find their messages once they update their server settings to the new hostname
- Check webmail — log into Roundcube or Horde via the new cPanel and verify all folders and messages are present
- Verify SPF/DKIM pass — send a test email to
check-auth@verifier.port25.comand check the report - Review Exim logs for bounce patterns:
grep "rejected" /var/log/exim_mainlog | tail -50
Common cPanel Email Migration Problems and Fixes
Problem: Email passwords don't work after migration
cPanel stores email passwords as hashed values in /home/user/etc/domain.com/shadow. The WHM Transfer Tool copies these hashes — existing passwords work on the new server without clients needing to change anything. If passwords break, re-hash them: in cPanel → Email → Email Accounts → Manage → Update Password.
Problem: IMAP folders missing after migration
Maildir folders live at /home/username/mail/domain.com/username/. If a manual rsync was used, check permissions: chown -R username:username /home/username/mail/. Wrong permissions cause Dovecot to ignore the directory.
Problem: New server IP is blacklisted
Before the migration, check the new server's IP against major blacklists at mxtoolbox.com/blacklists.aspx. A blacklisted IP will cause outgoing mail to be rejected immediately. Request delisting from major lists (Spamhaus, Barracuda) before the DNS cutover.
Problem: Mail queue growing on new server after cutover
exim -bp | head -50 # View queue
exim -qff # Force queue retry
tail -100 /var/log/exim_mainlog | grep "failed"Common causes: rDNS (PTR record) not set for the new server's IP — contact your host to set a reverse DNS entry matching your mail hostname.
If email management across multiple cPanel servers is eating into your team's time, CloudHouse Technologies offers managed cPanel server support with dedicated Exim and email deliverability expertise.
Conclusion
A cPanel email migration breaks down into four phases: audit what you have, transfer the mail data (via WHM Transfer Tool, cPanel backup, or imapsync), configure authentication on the new server, and cut over DNS carefully. The critical steps that most guides skip — lowering TTL 24 hours early, running a second imapsync after cutover, and setting a backup MX record during transition — are what separate a clean migration from one that loses client mail.
For hosting companies doing regular server migrations, building a documented checklist from this guide and testing it on a staging account before the real migration will save hours of troubleshooting and prevent client escalations.